StoriBot turns your content and data into an HTML email for you to send — every number traced back to a source file, drafted in your own voice and in line with your brand guidelines. Below is the whole build, one screen at a time. From a blank workspace to a downloadable, paste-ready email takes about six minutes.
Why StoriBot for preparing email
- On-brand, on-message. Customise StoriBot with your brand guidelines and preferred tone of voice so every email aligns with your brand.
- Add any business files. An outline, a draft, finance's Excel, a system download from HubSpot — any business file can be uploaded to the workspace and used to build the email.
- Download for any email client. StoriBot prepares your email for download, ready to paste into your preferred email client.
AWS Sydney · No training on your data · Lineage on every output
Home page
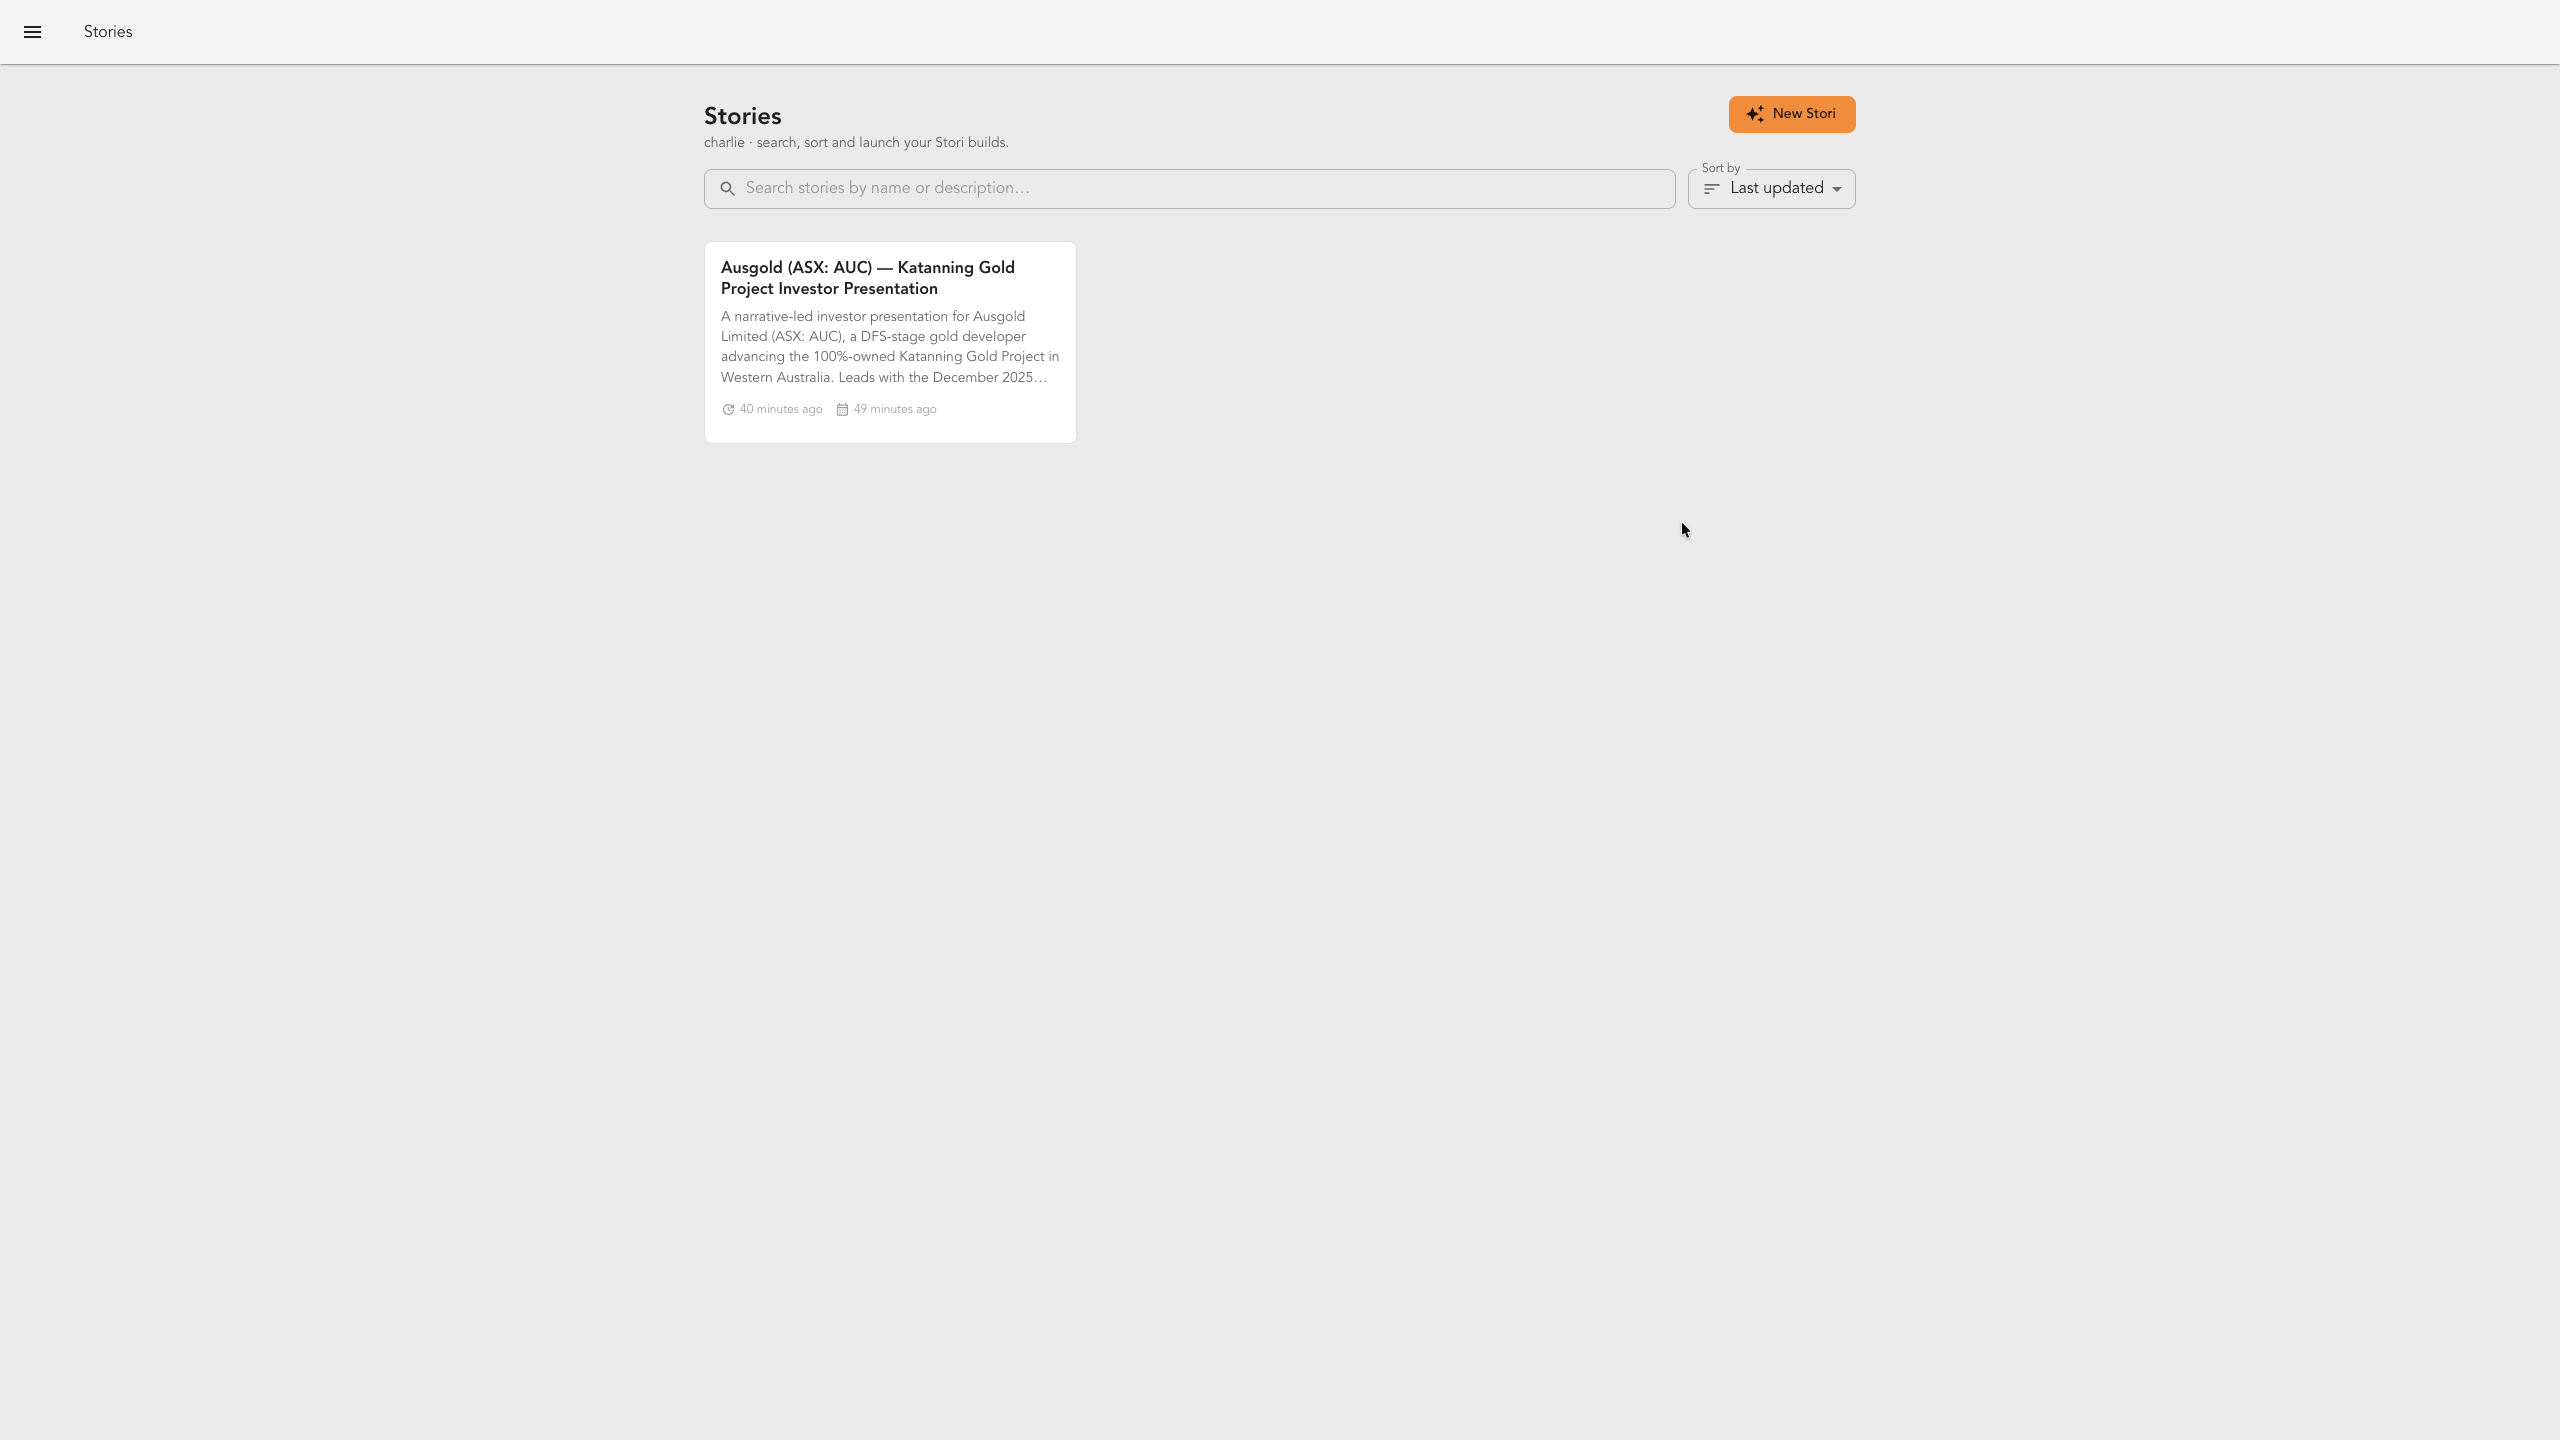
This is your StoriBot home page. It lists every stori you've built so far. To begin a new one, click New Stori.
Choose a template
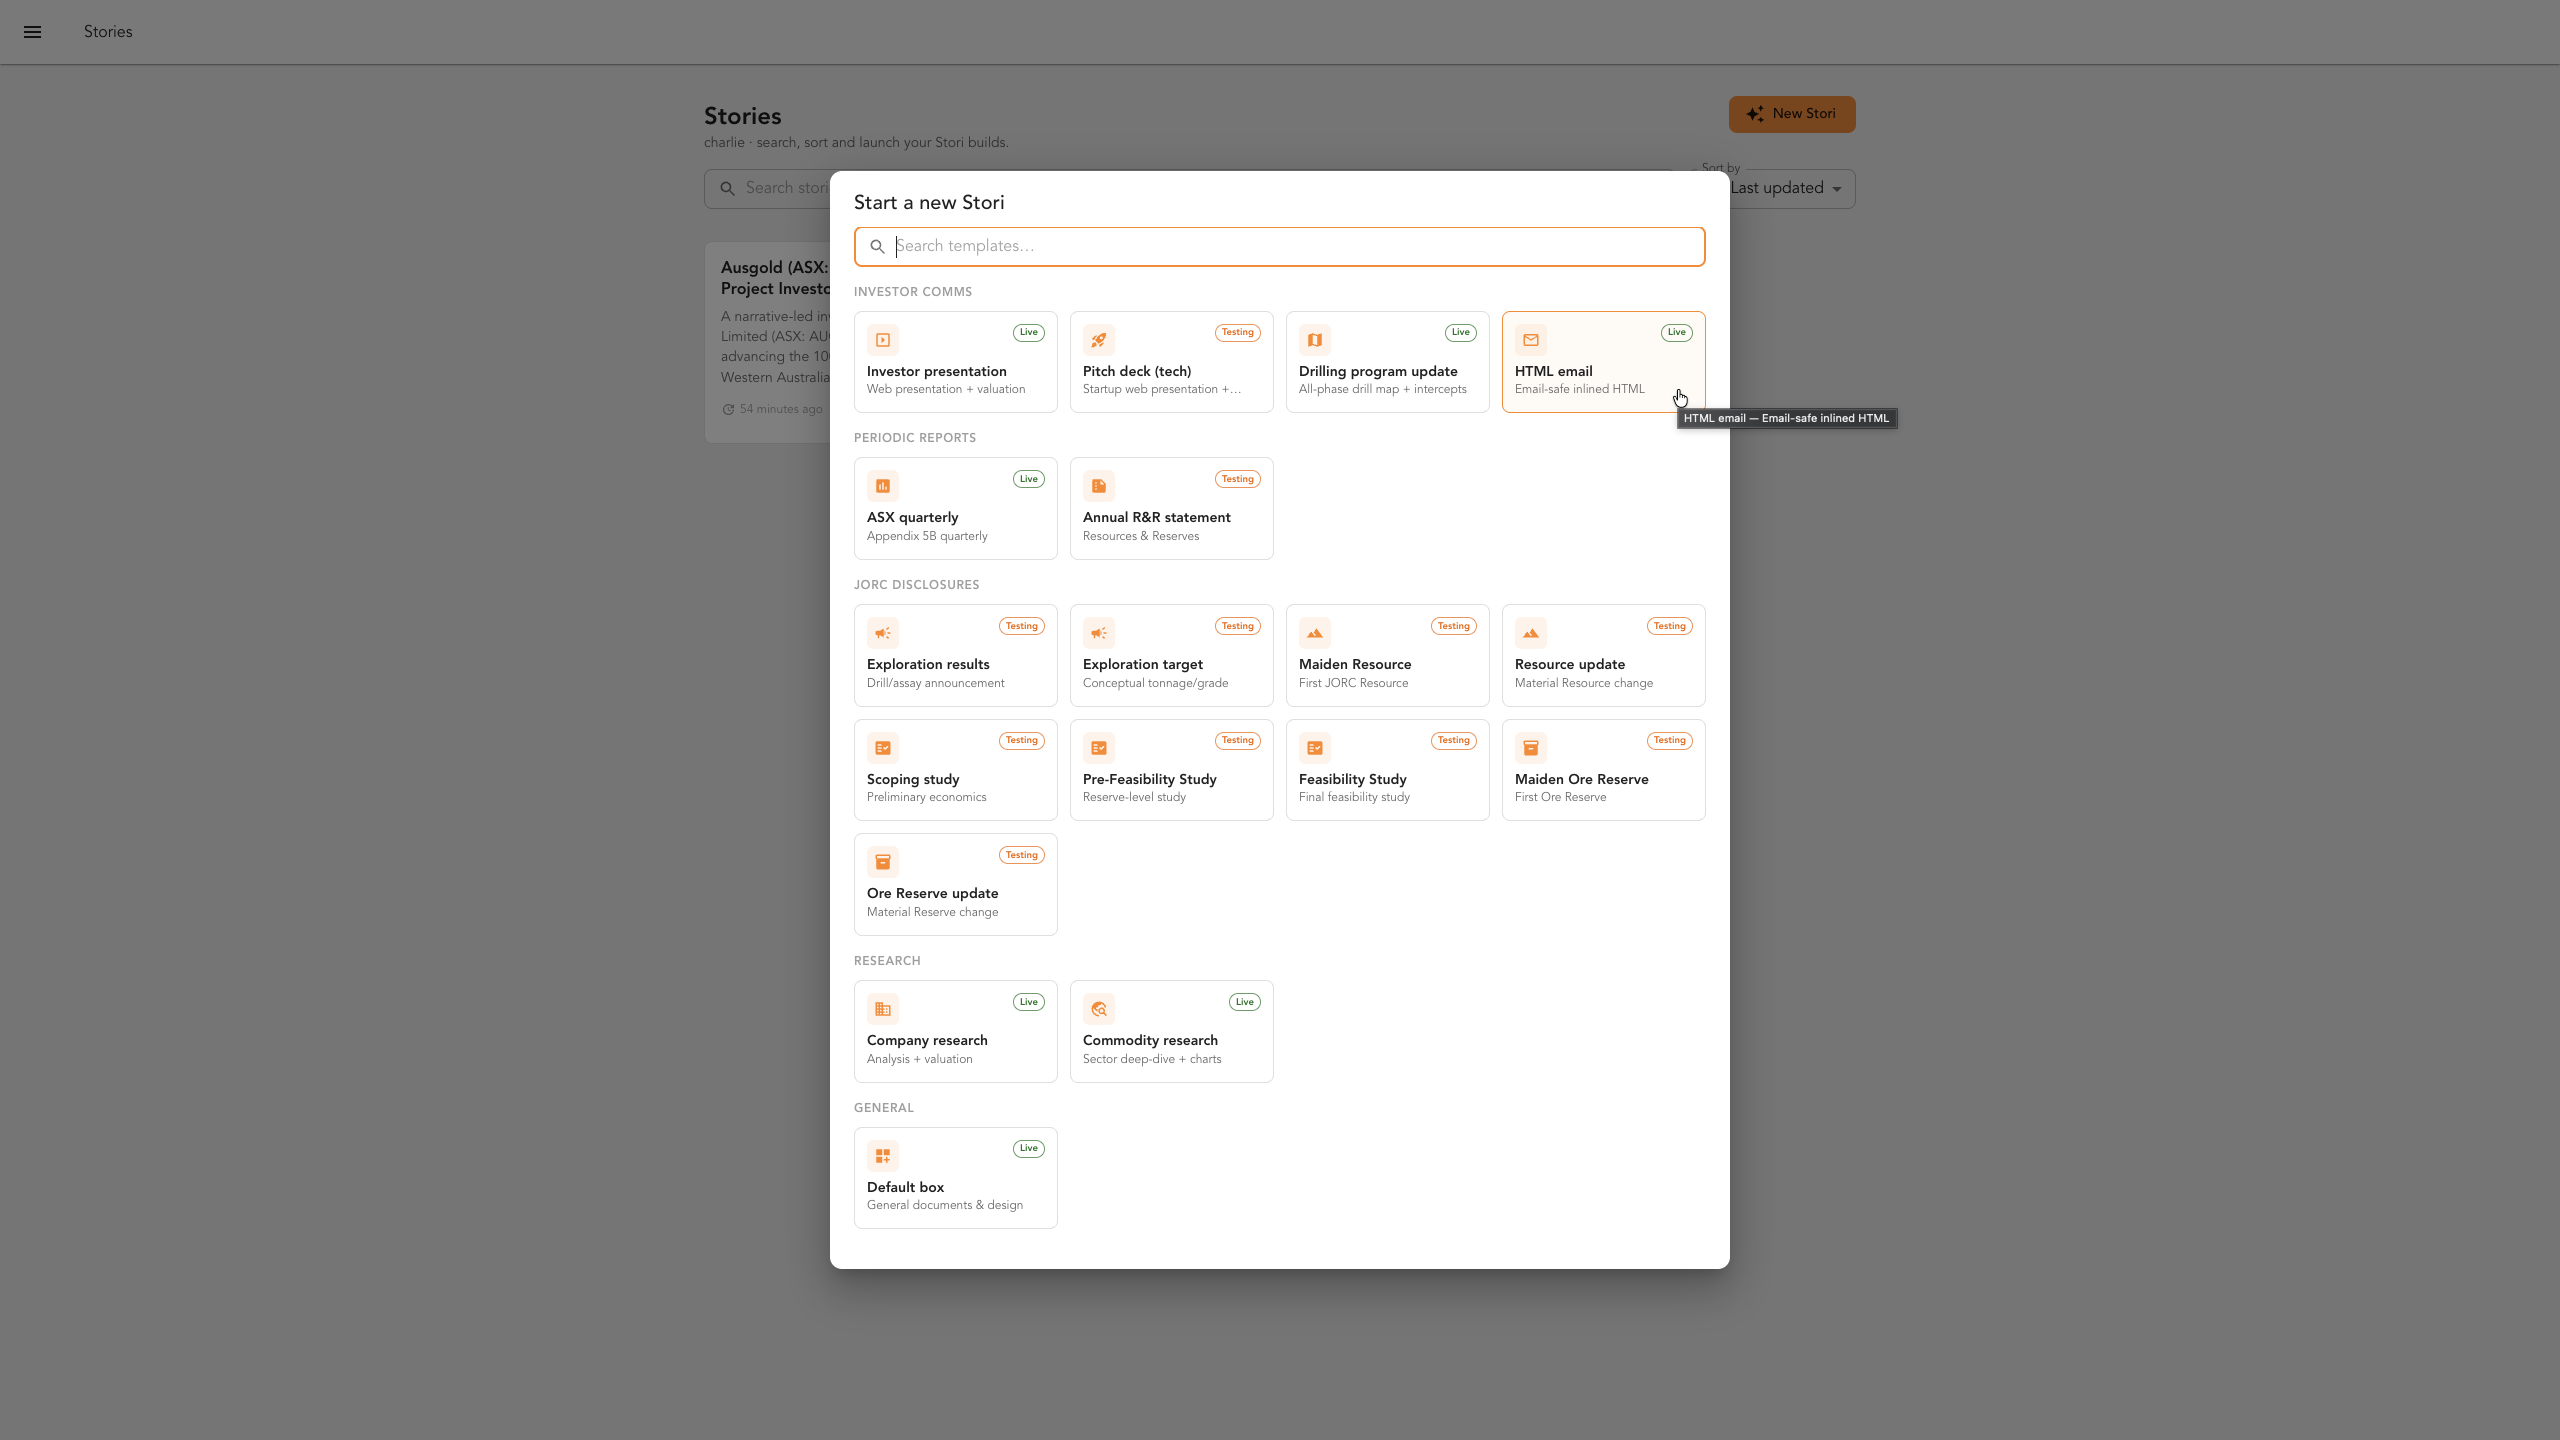
After clicking New Stori, you'll see the template gallery. For this build, choose HTML email.
Upload your data and content files
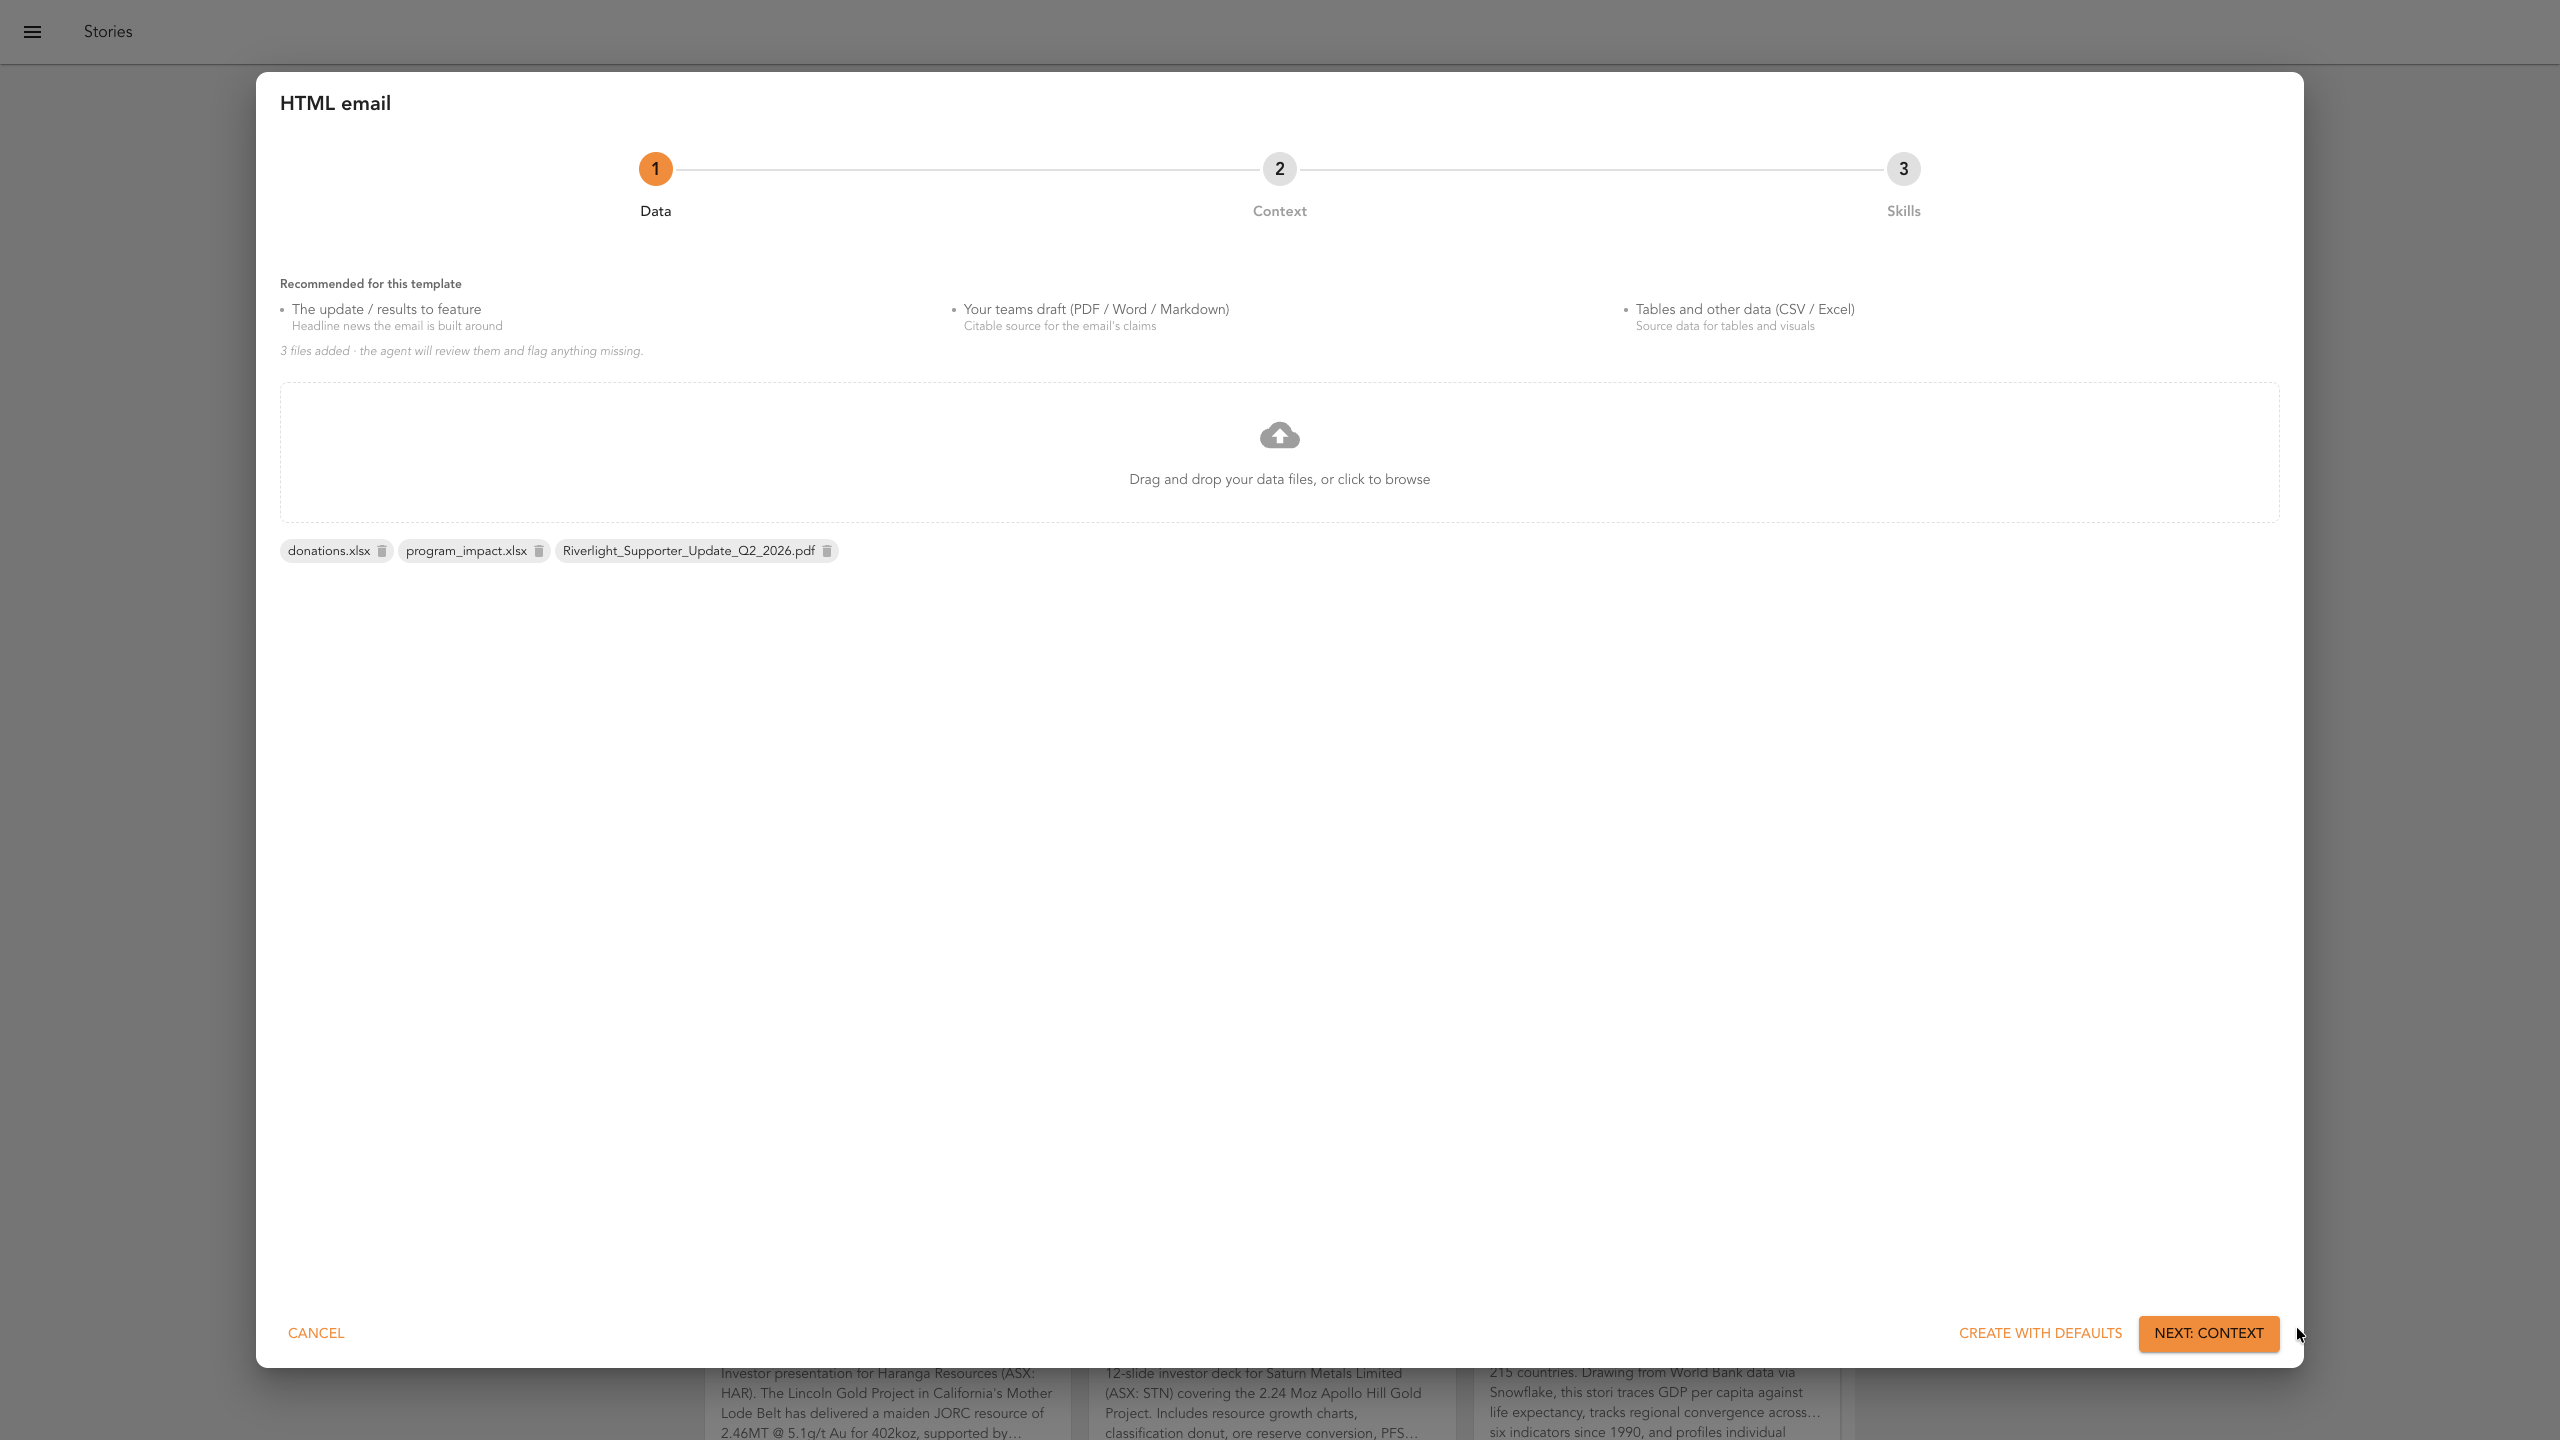
The power of StoriBot is that it can work with a variety of file types, including spreadsheets, documents and PDFs. We suggest an outline or draft of the email content (bullet points or a more detailed version — whatever your team produces now) and any supporting Excel or CSV files for charts and data graphics. When your files are in, click Next to continue.
Add supporting context
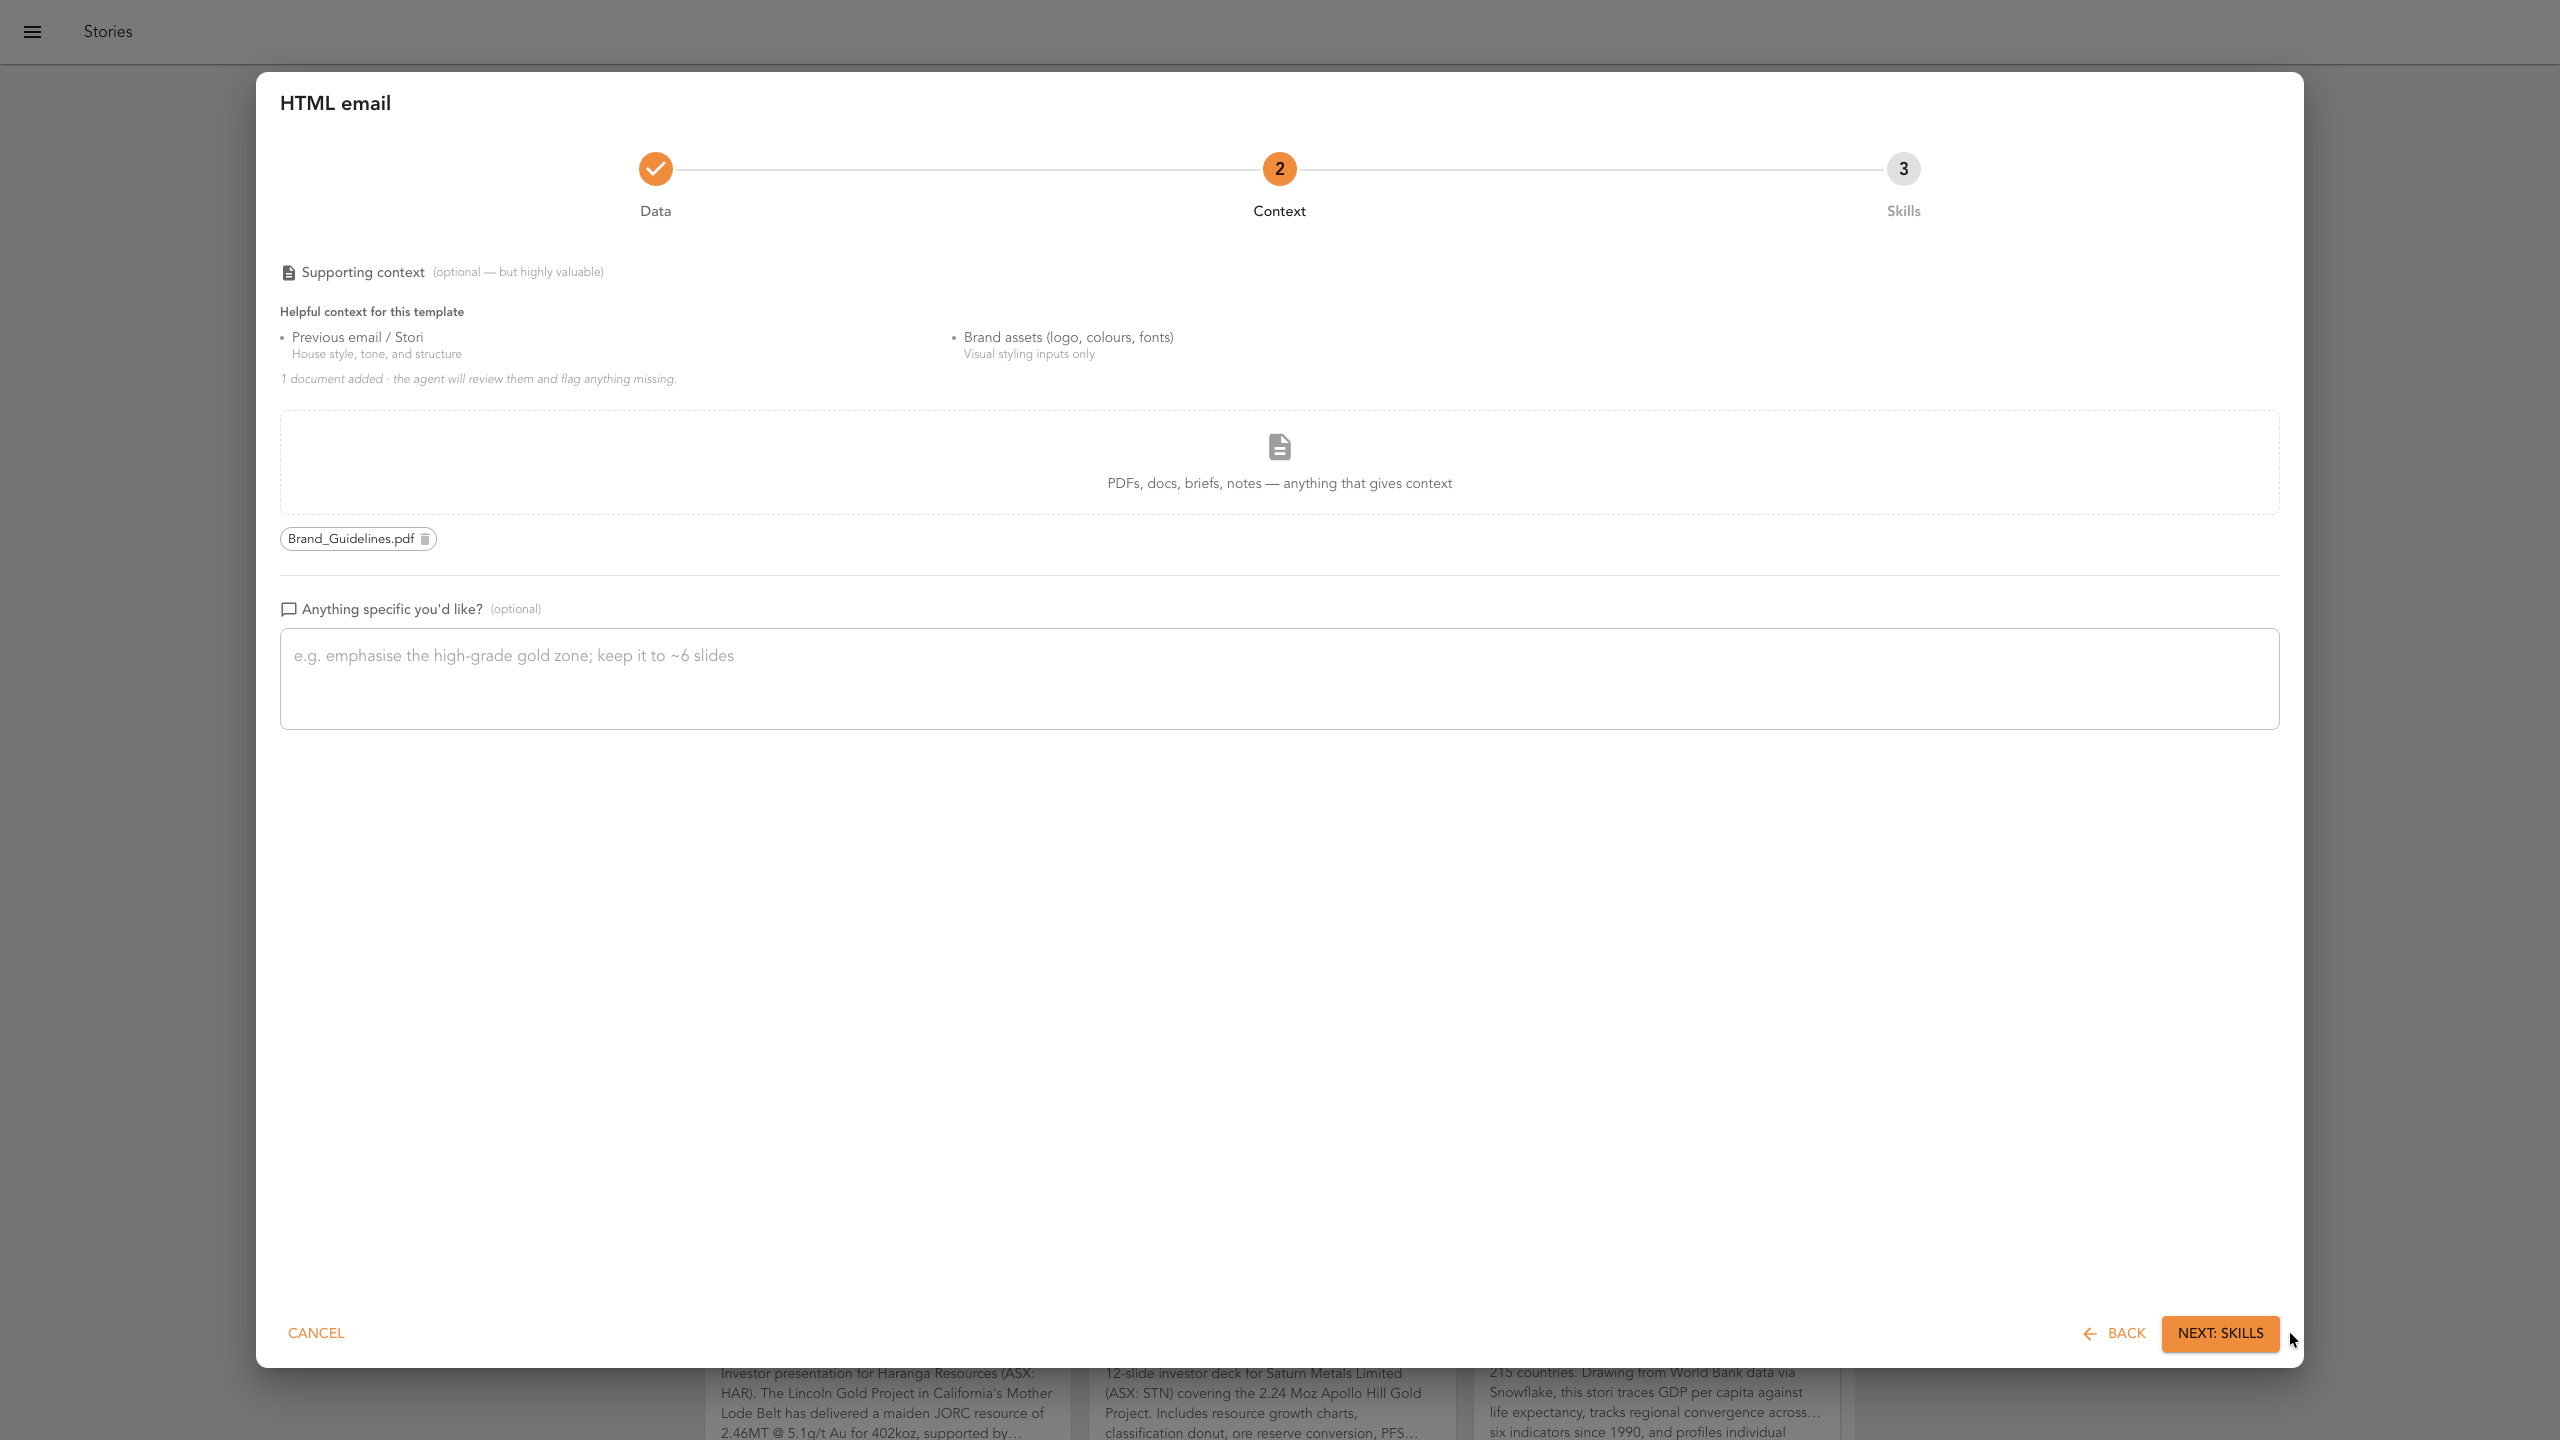
This is the material that might help shape the narrative or provide an example to follow — previous emails from you or others, or notes on the tone you want. You can also add your own prompt or anything else that might steer the output towards what you have in mind. Everything in this step is optional. Once these are attached, click Next to continue.
Choose skills
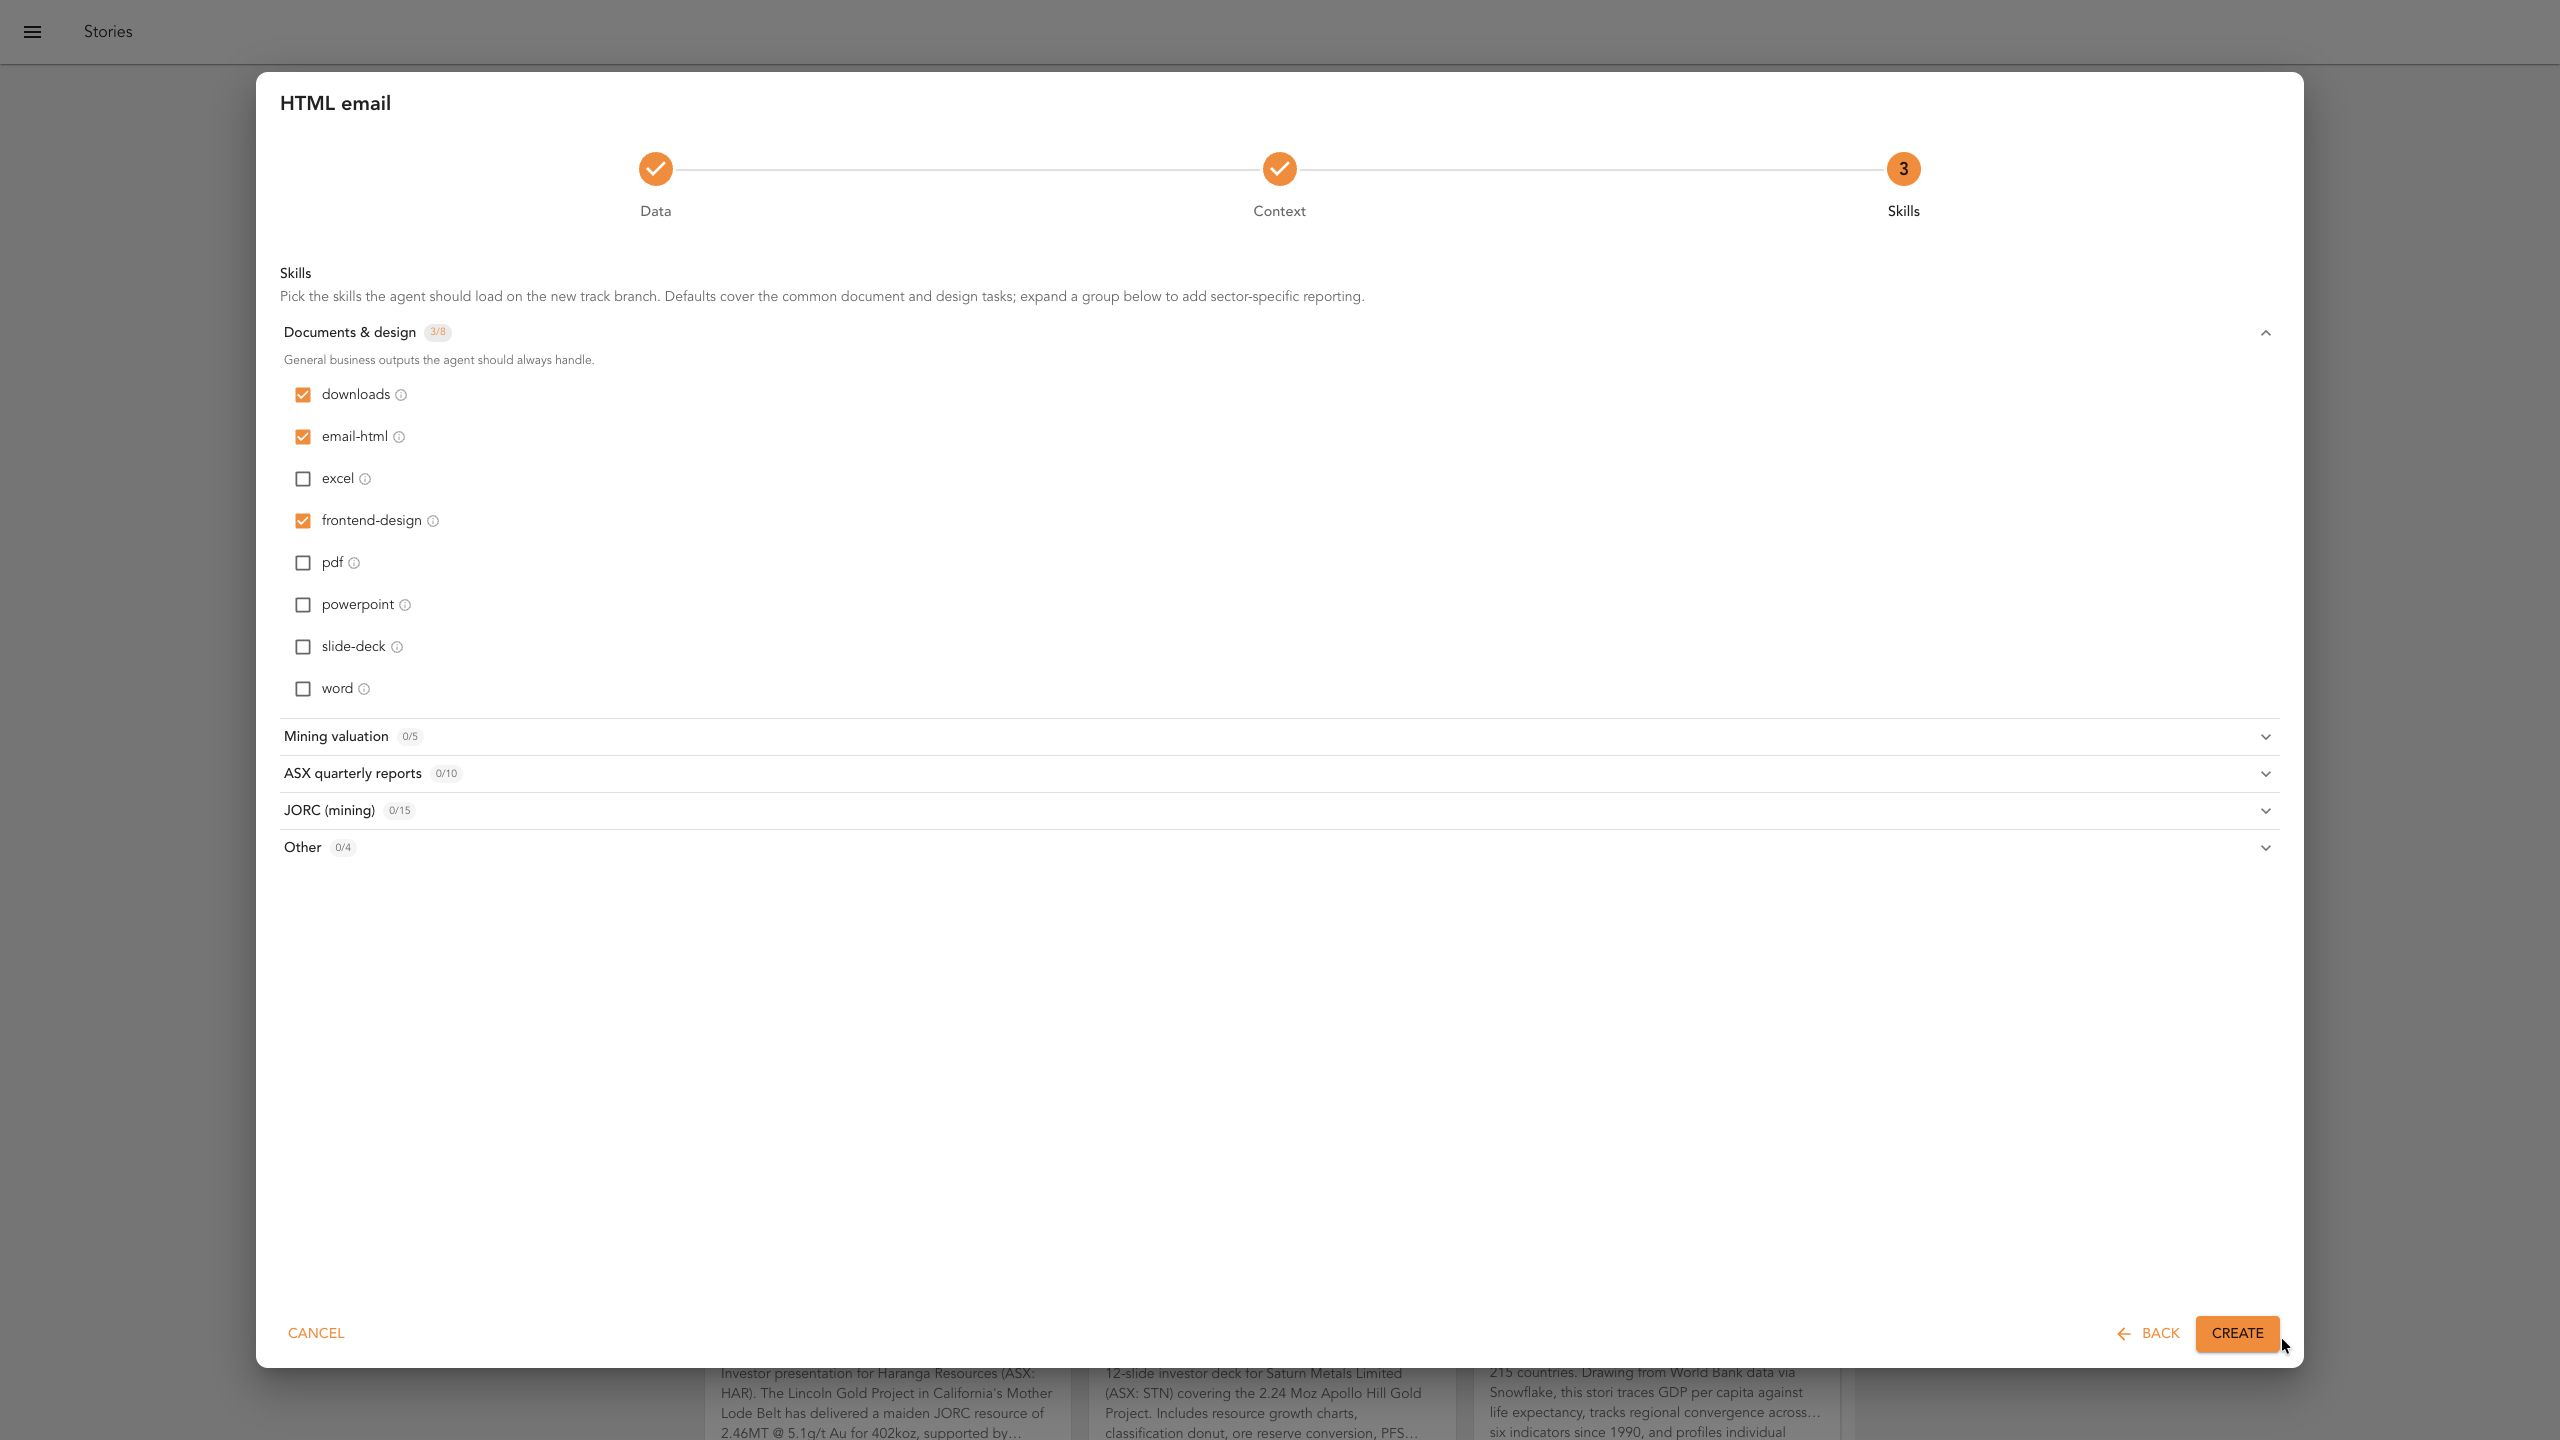
This is the skills screen. You can review and add any additional skills you think might be useful, but for this and any other template, you can leave the defaults as they are. Click Next to continue.
Launch the workspace
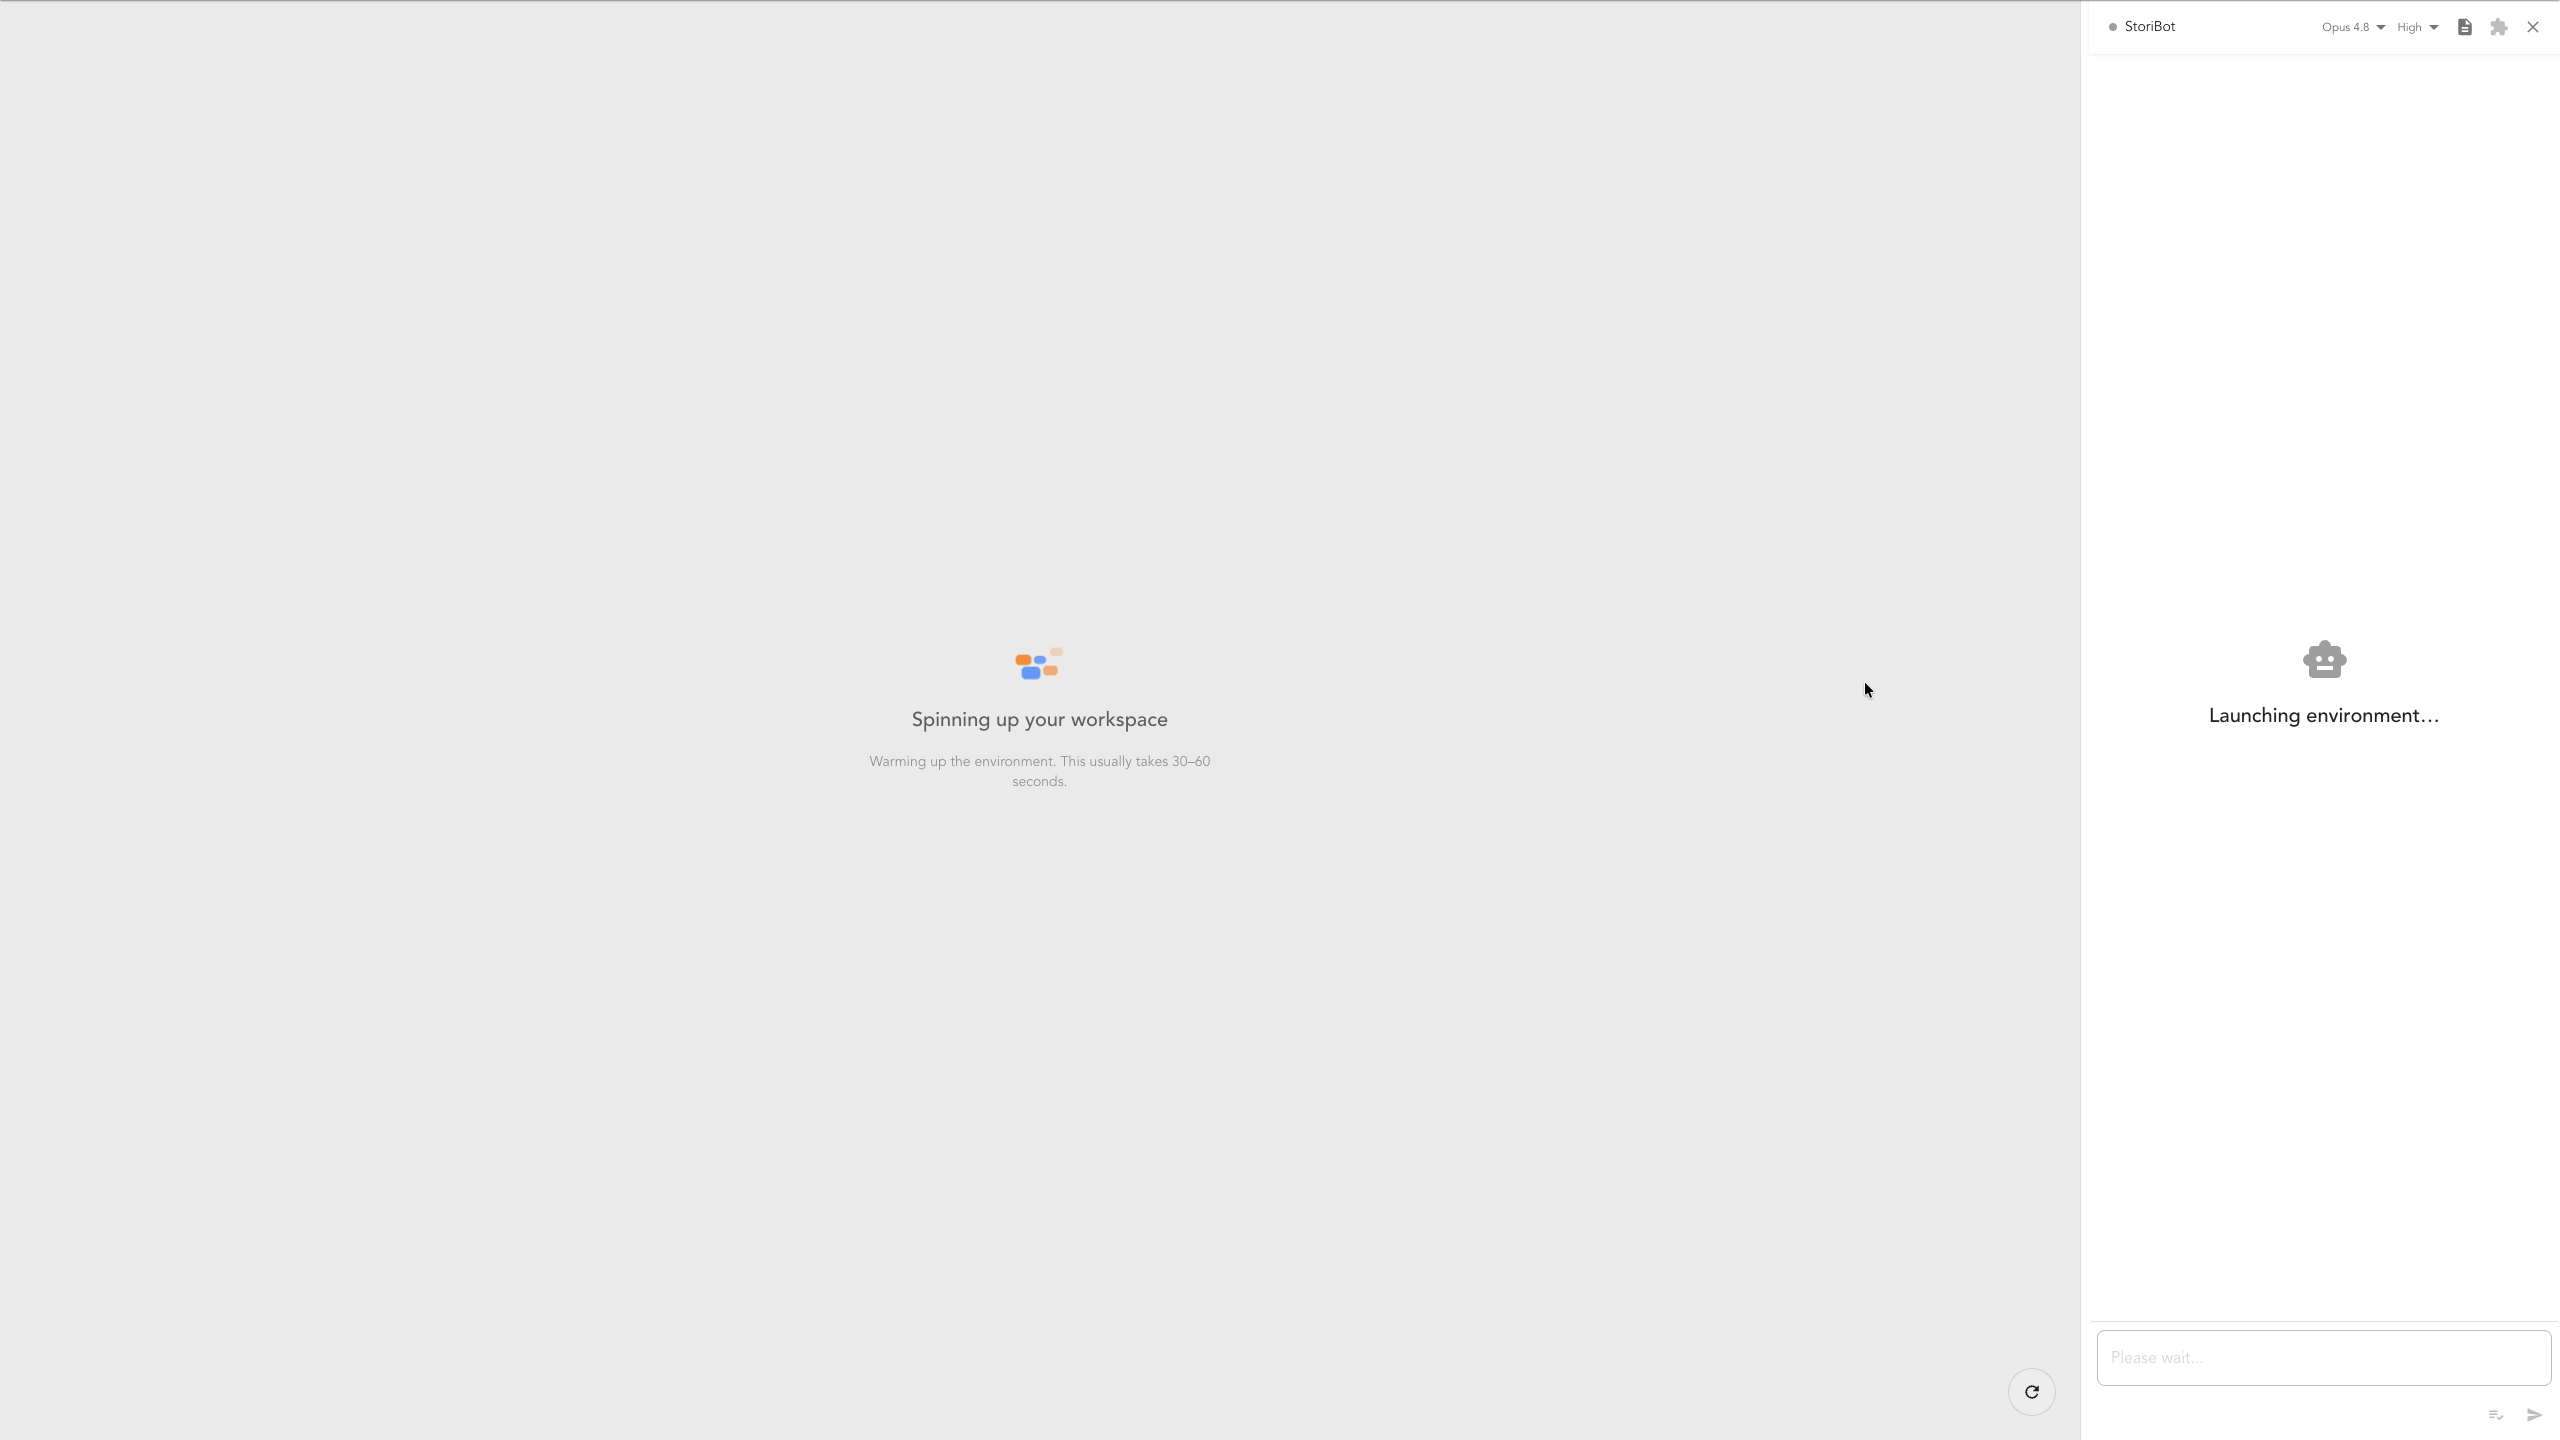
After you click Create, StoriBot opens your workspace. It takes a minute or so to spin up. The benefit is you get an entire workspace, which significantly extends what you can do with StoriBot. Once the workspace is ready, the agent will start building your email automatically.
The agent starts
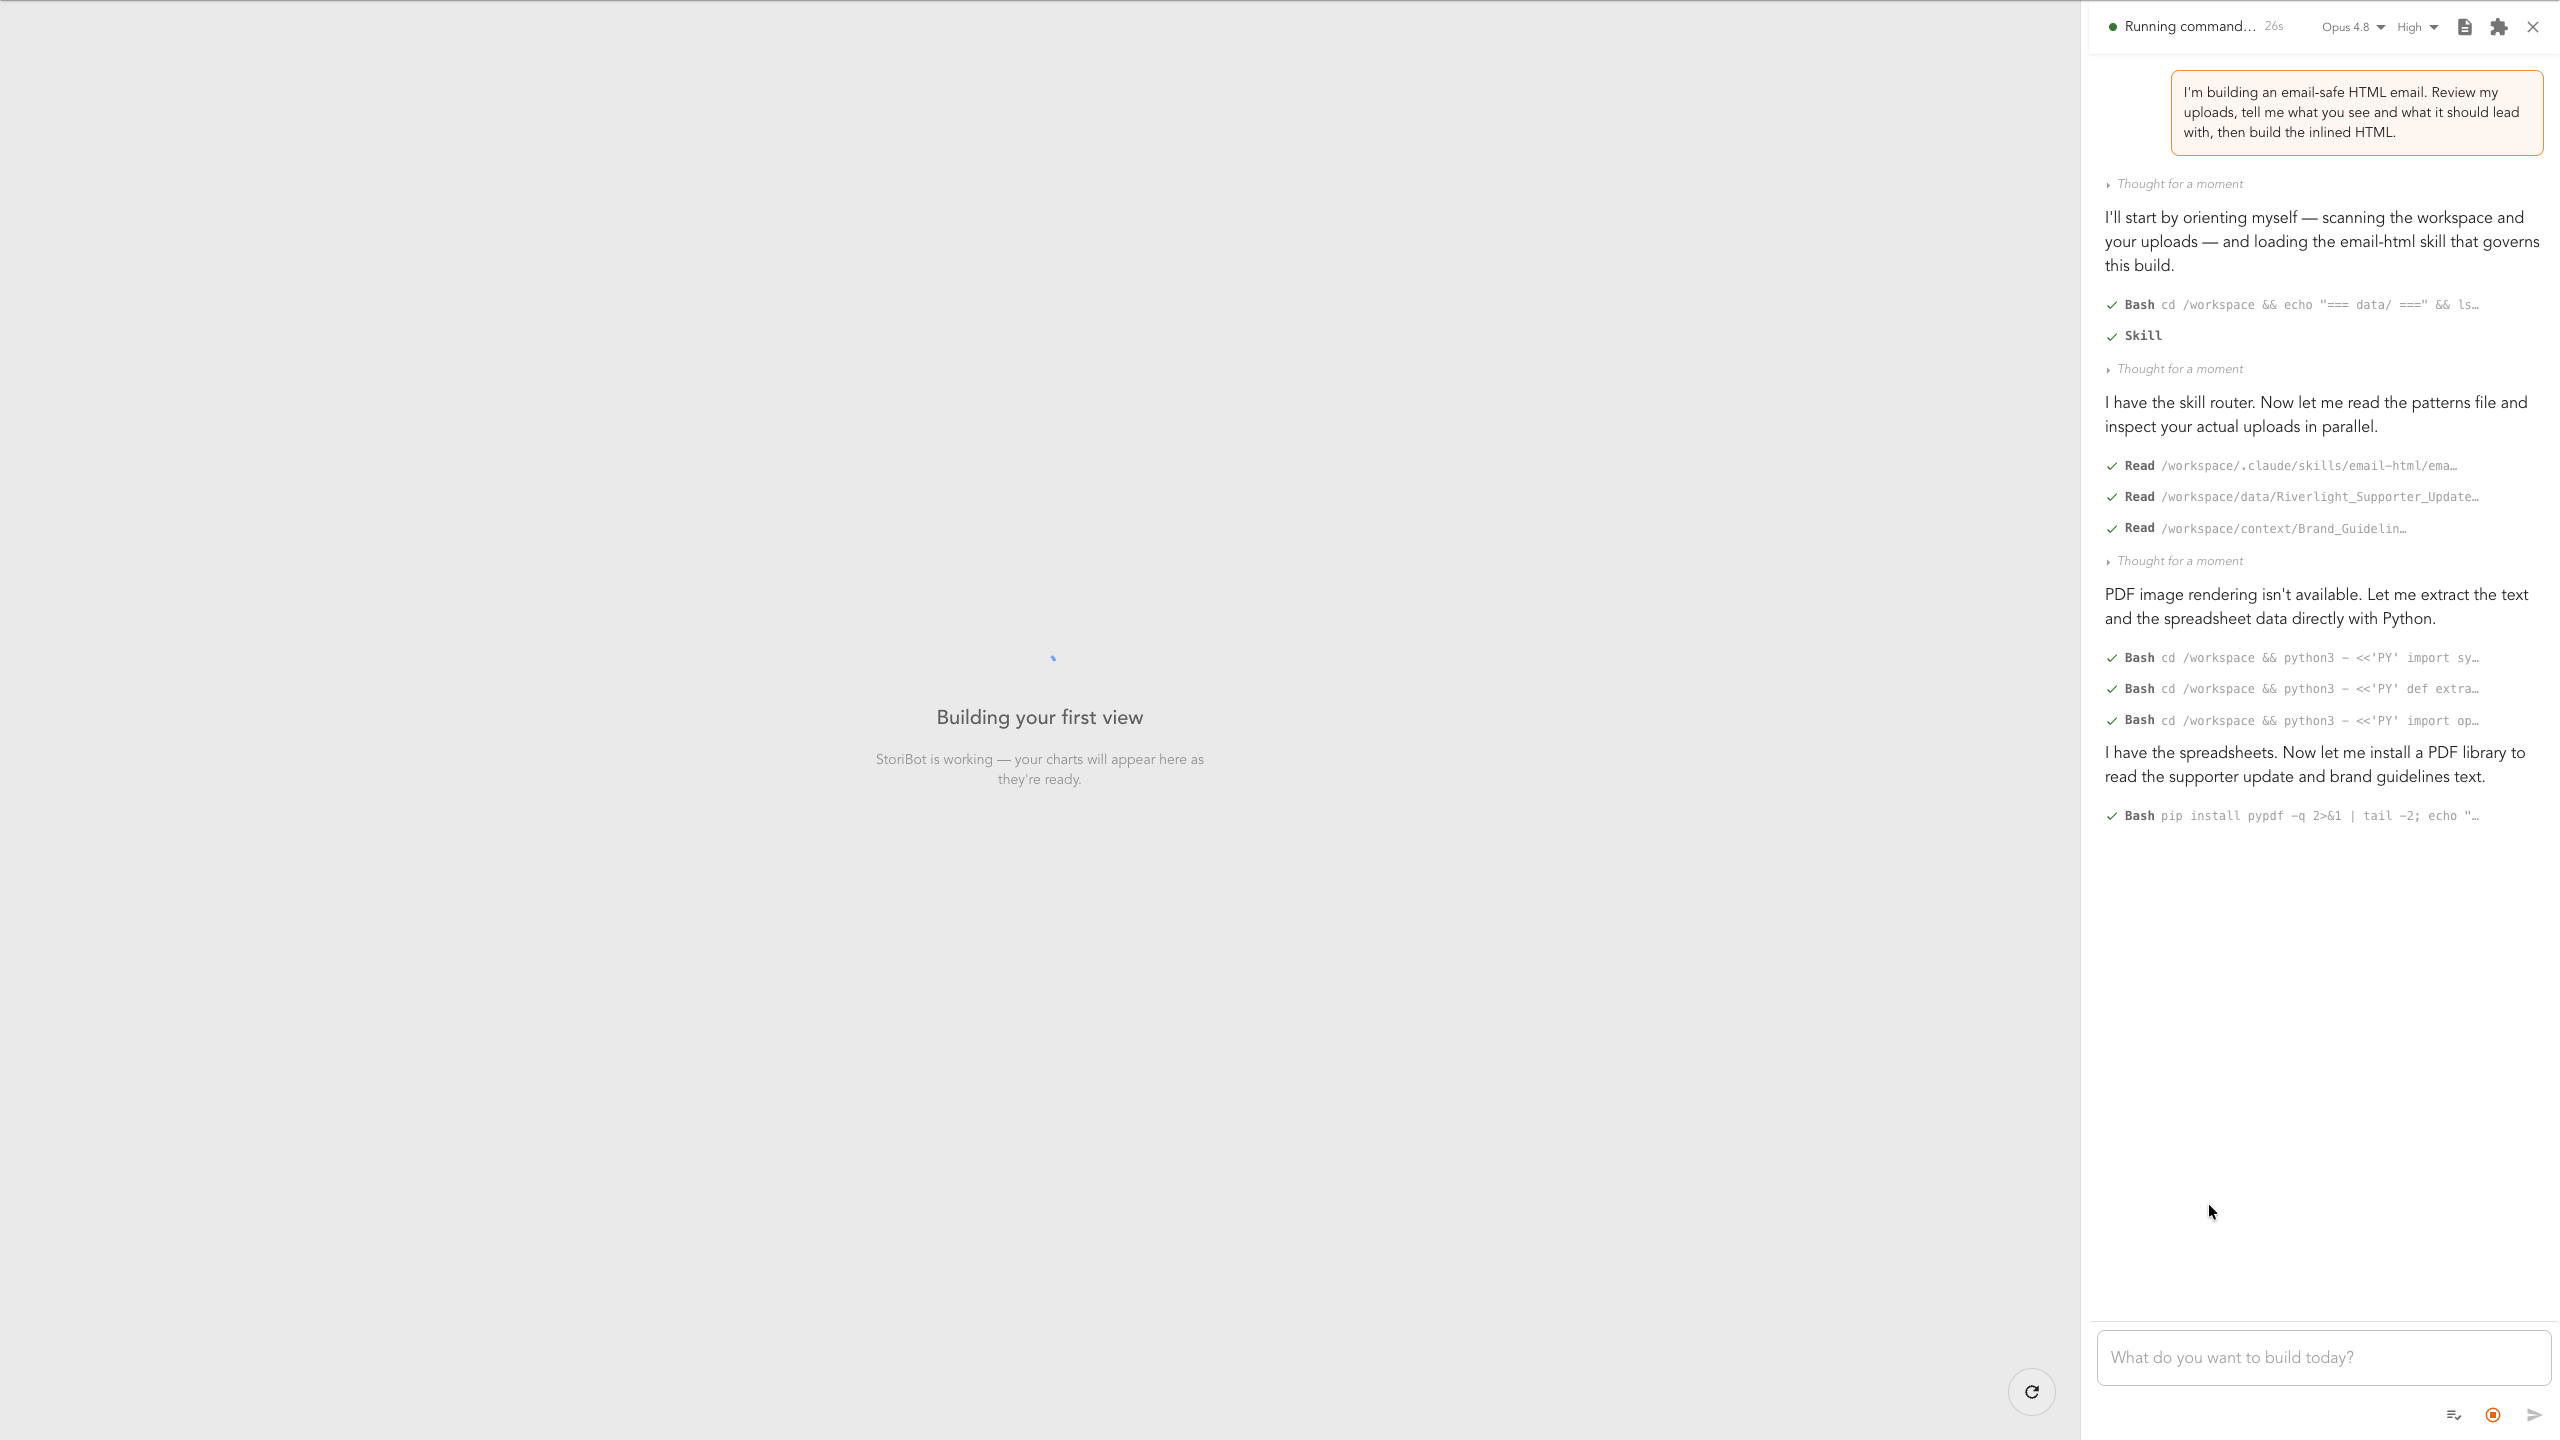
When you start from a template, like in this case, StoriBot begins building the email automatically from your data and context. You can refine the output at any time by typing in additional instructions in the agent sidebar.
Answer the agent's questions
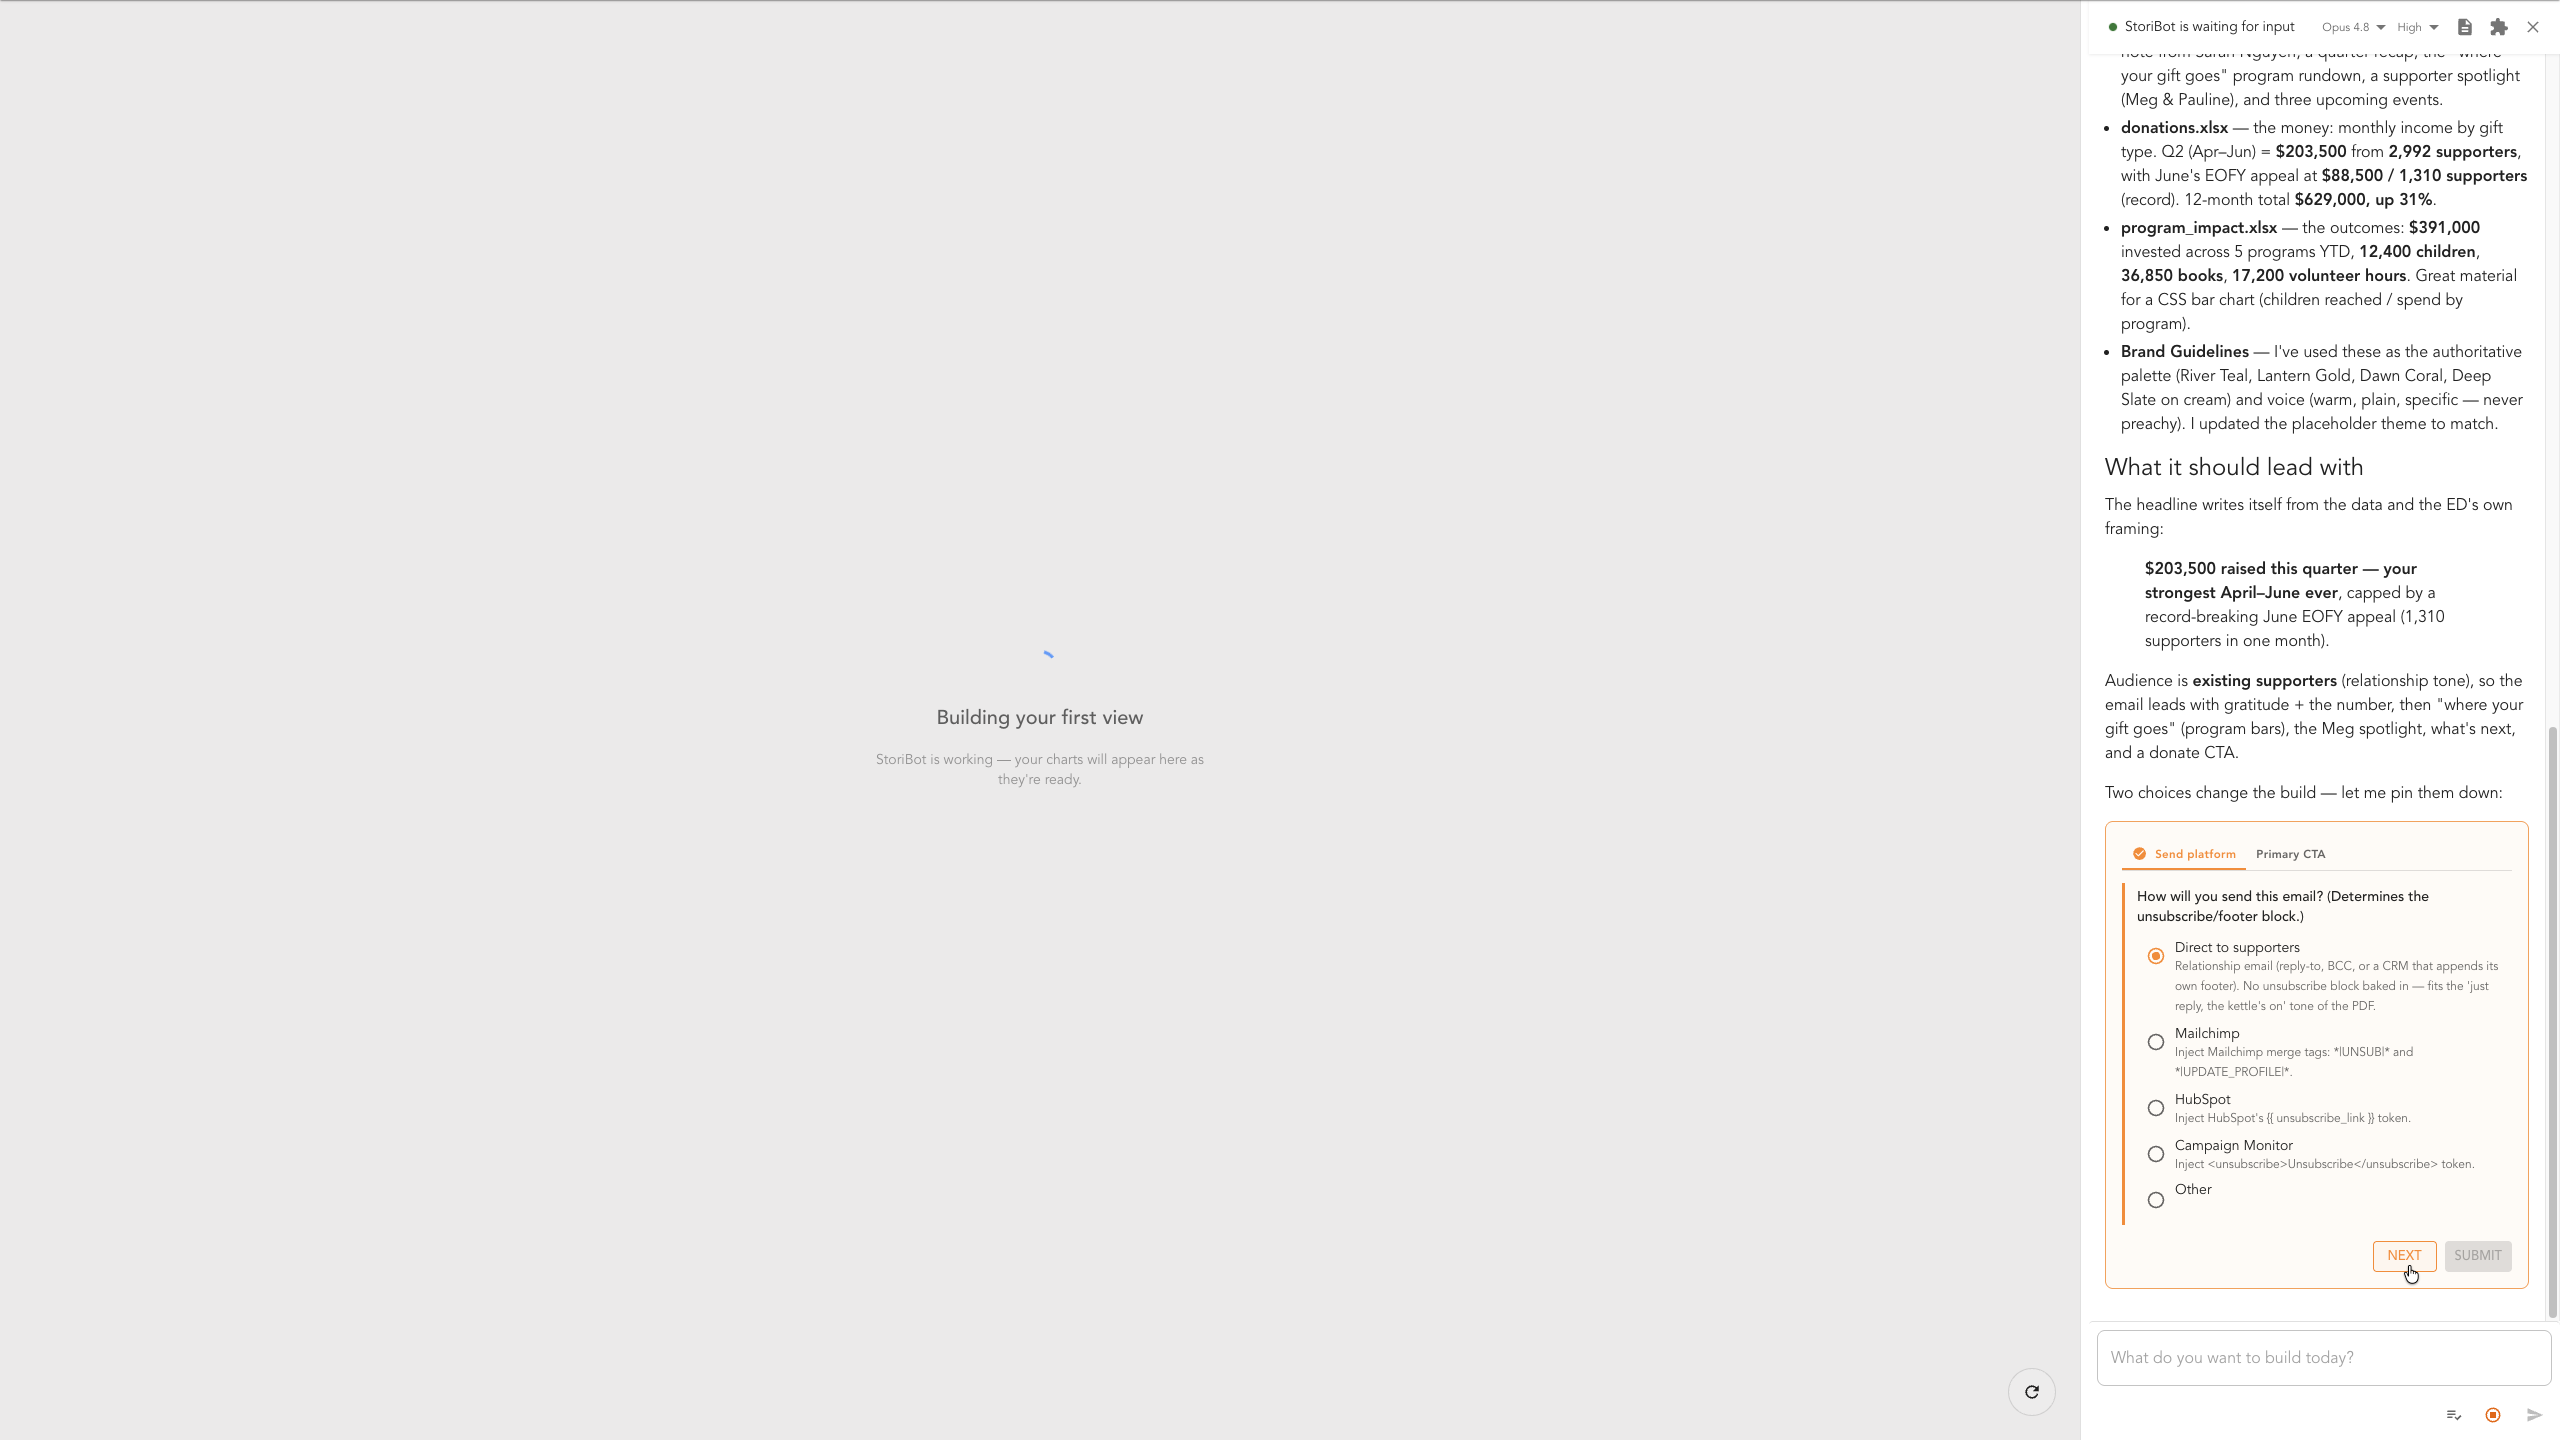
The agent may ask a question or two to tailor the email — how you'll send it, which call to action to lead with, or anything else it needs clarified. Make your choices and click through.
First draft and review
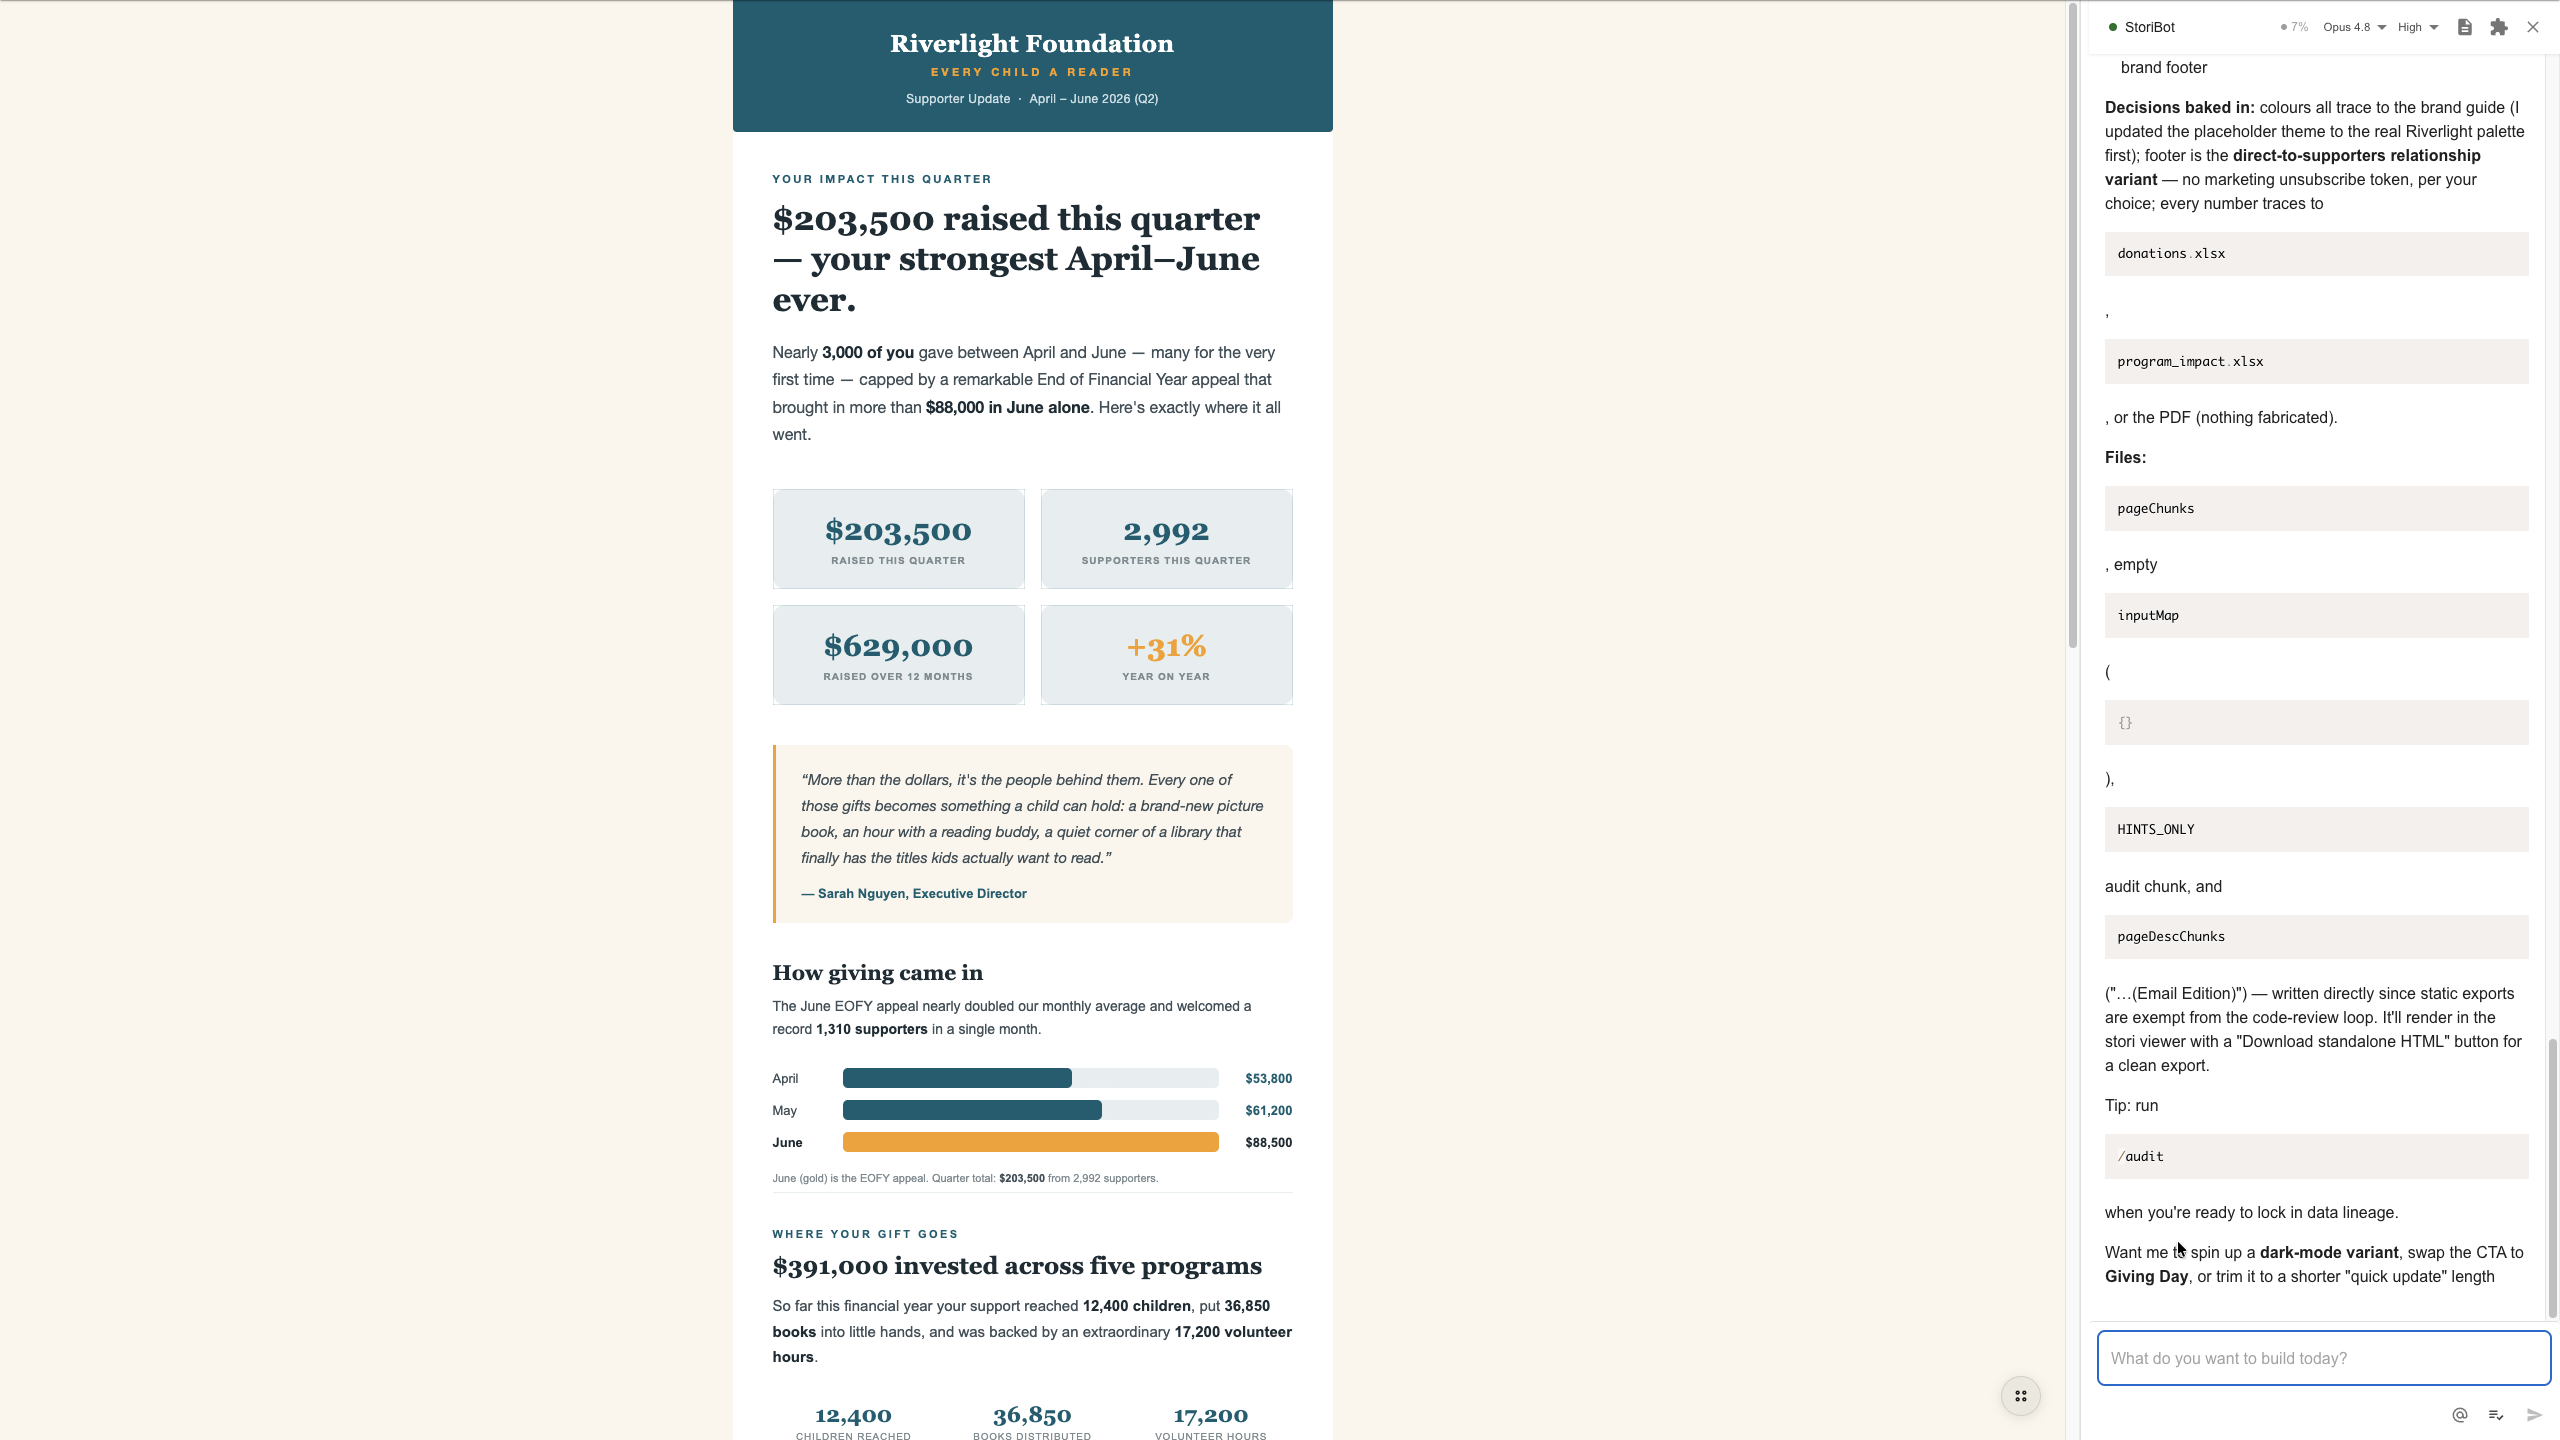
When the first draft lands, the agent spawns a reviewer to check the build end to end. You don't have to wait for it — view, edit, or request changes while the review runs in the background. Simply type any changes you want into the agent sidebar and the agent will rebuild the email for you.
Edit the words and numbers
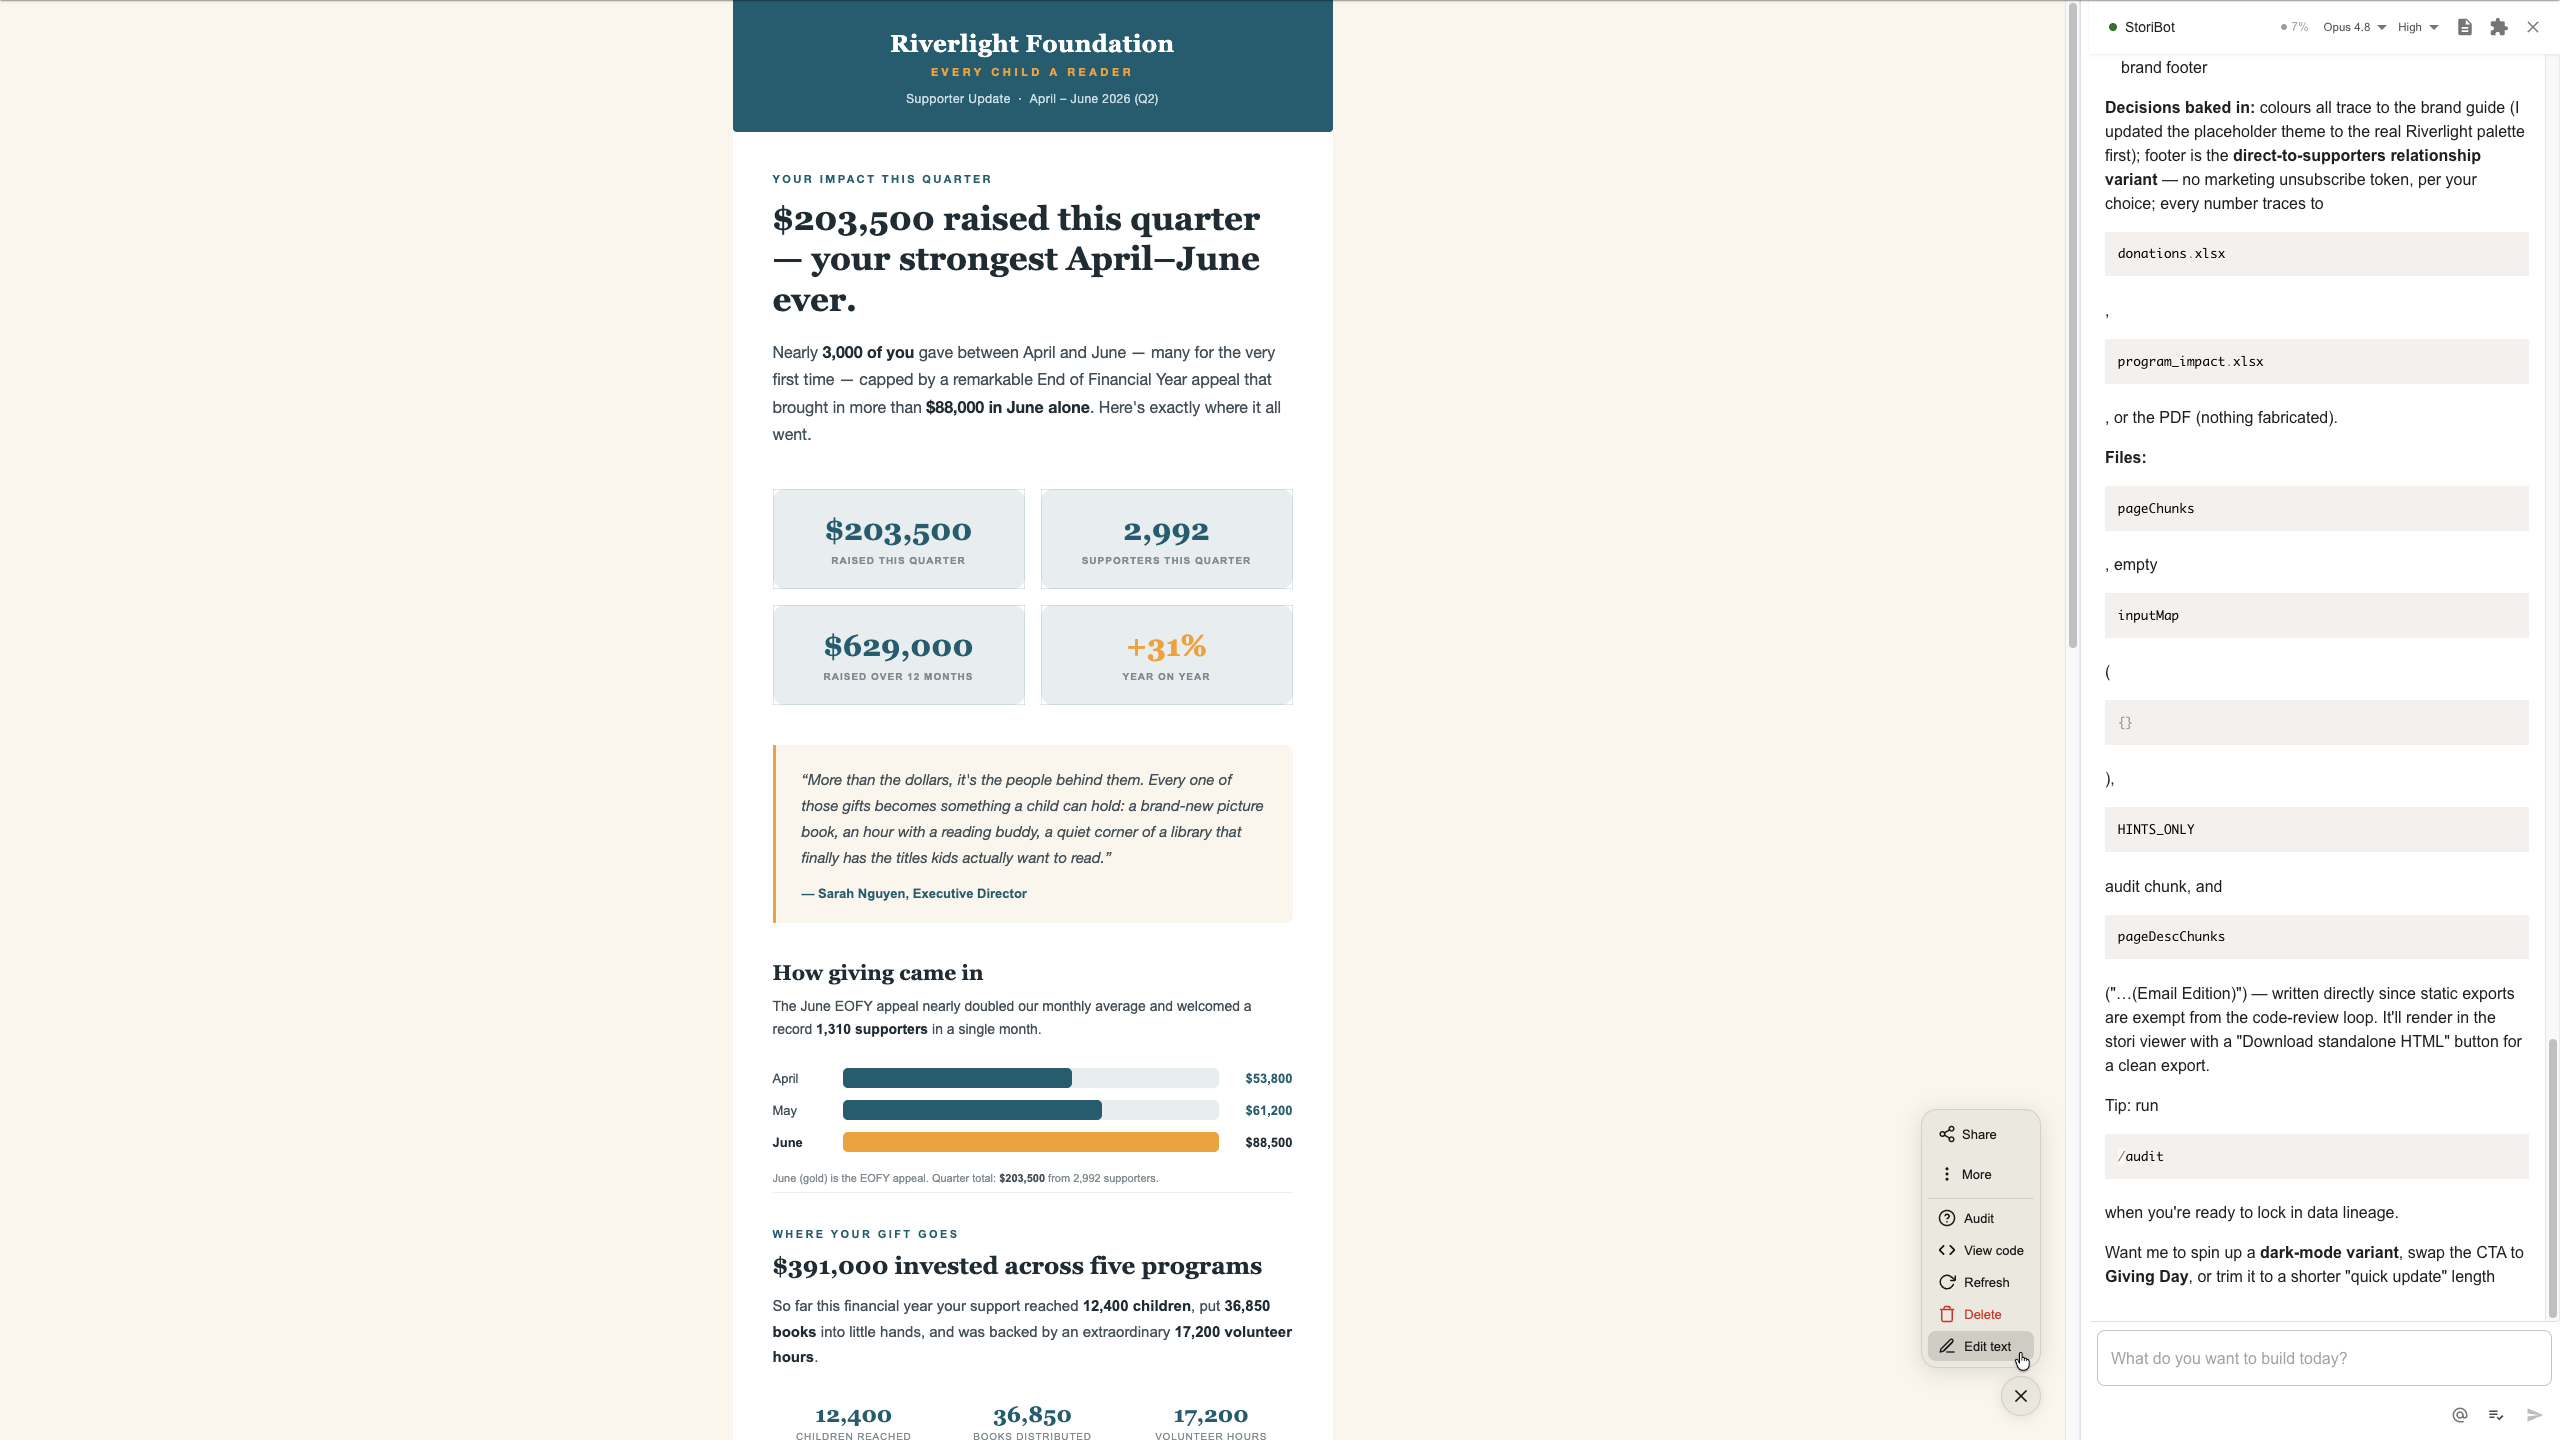
For specific wording changes within the email, open Edit text in the sub-menu. You can then click any word or number directly and change it in place.
Make broader changes
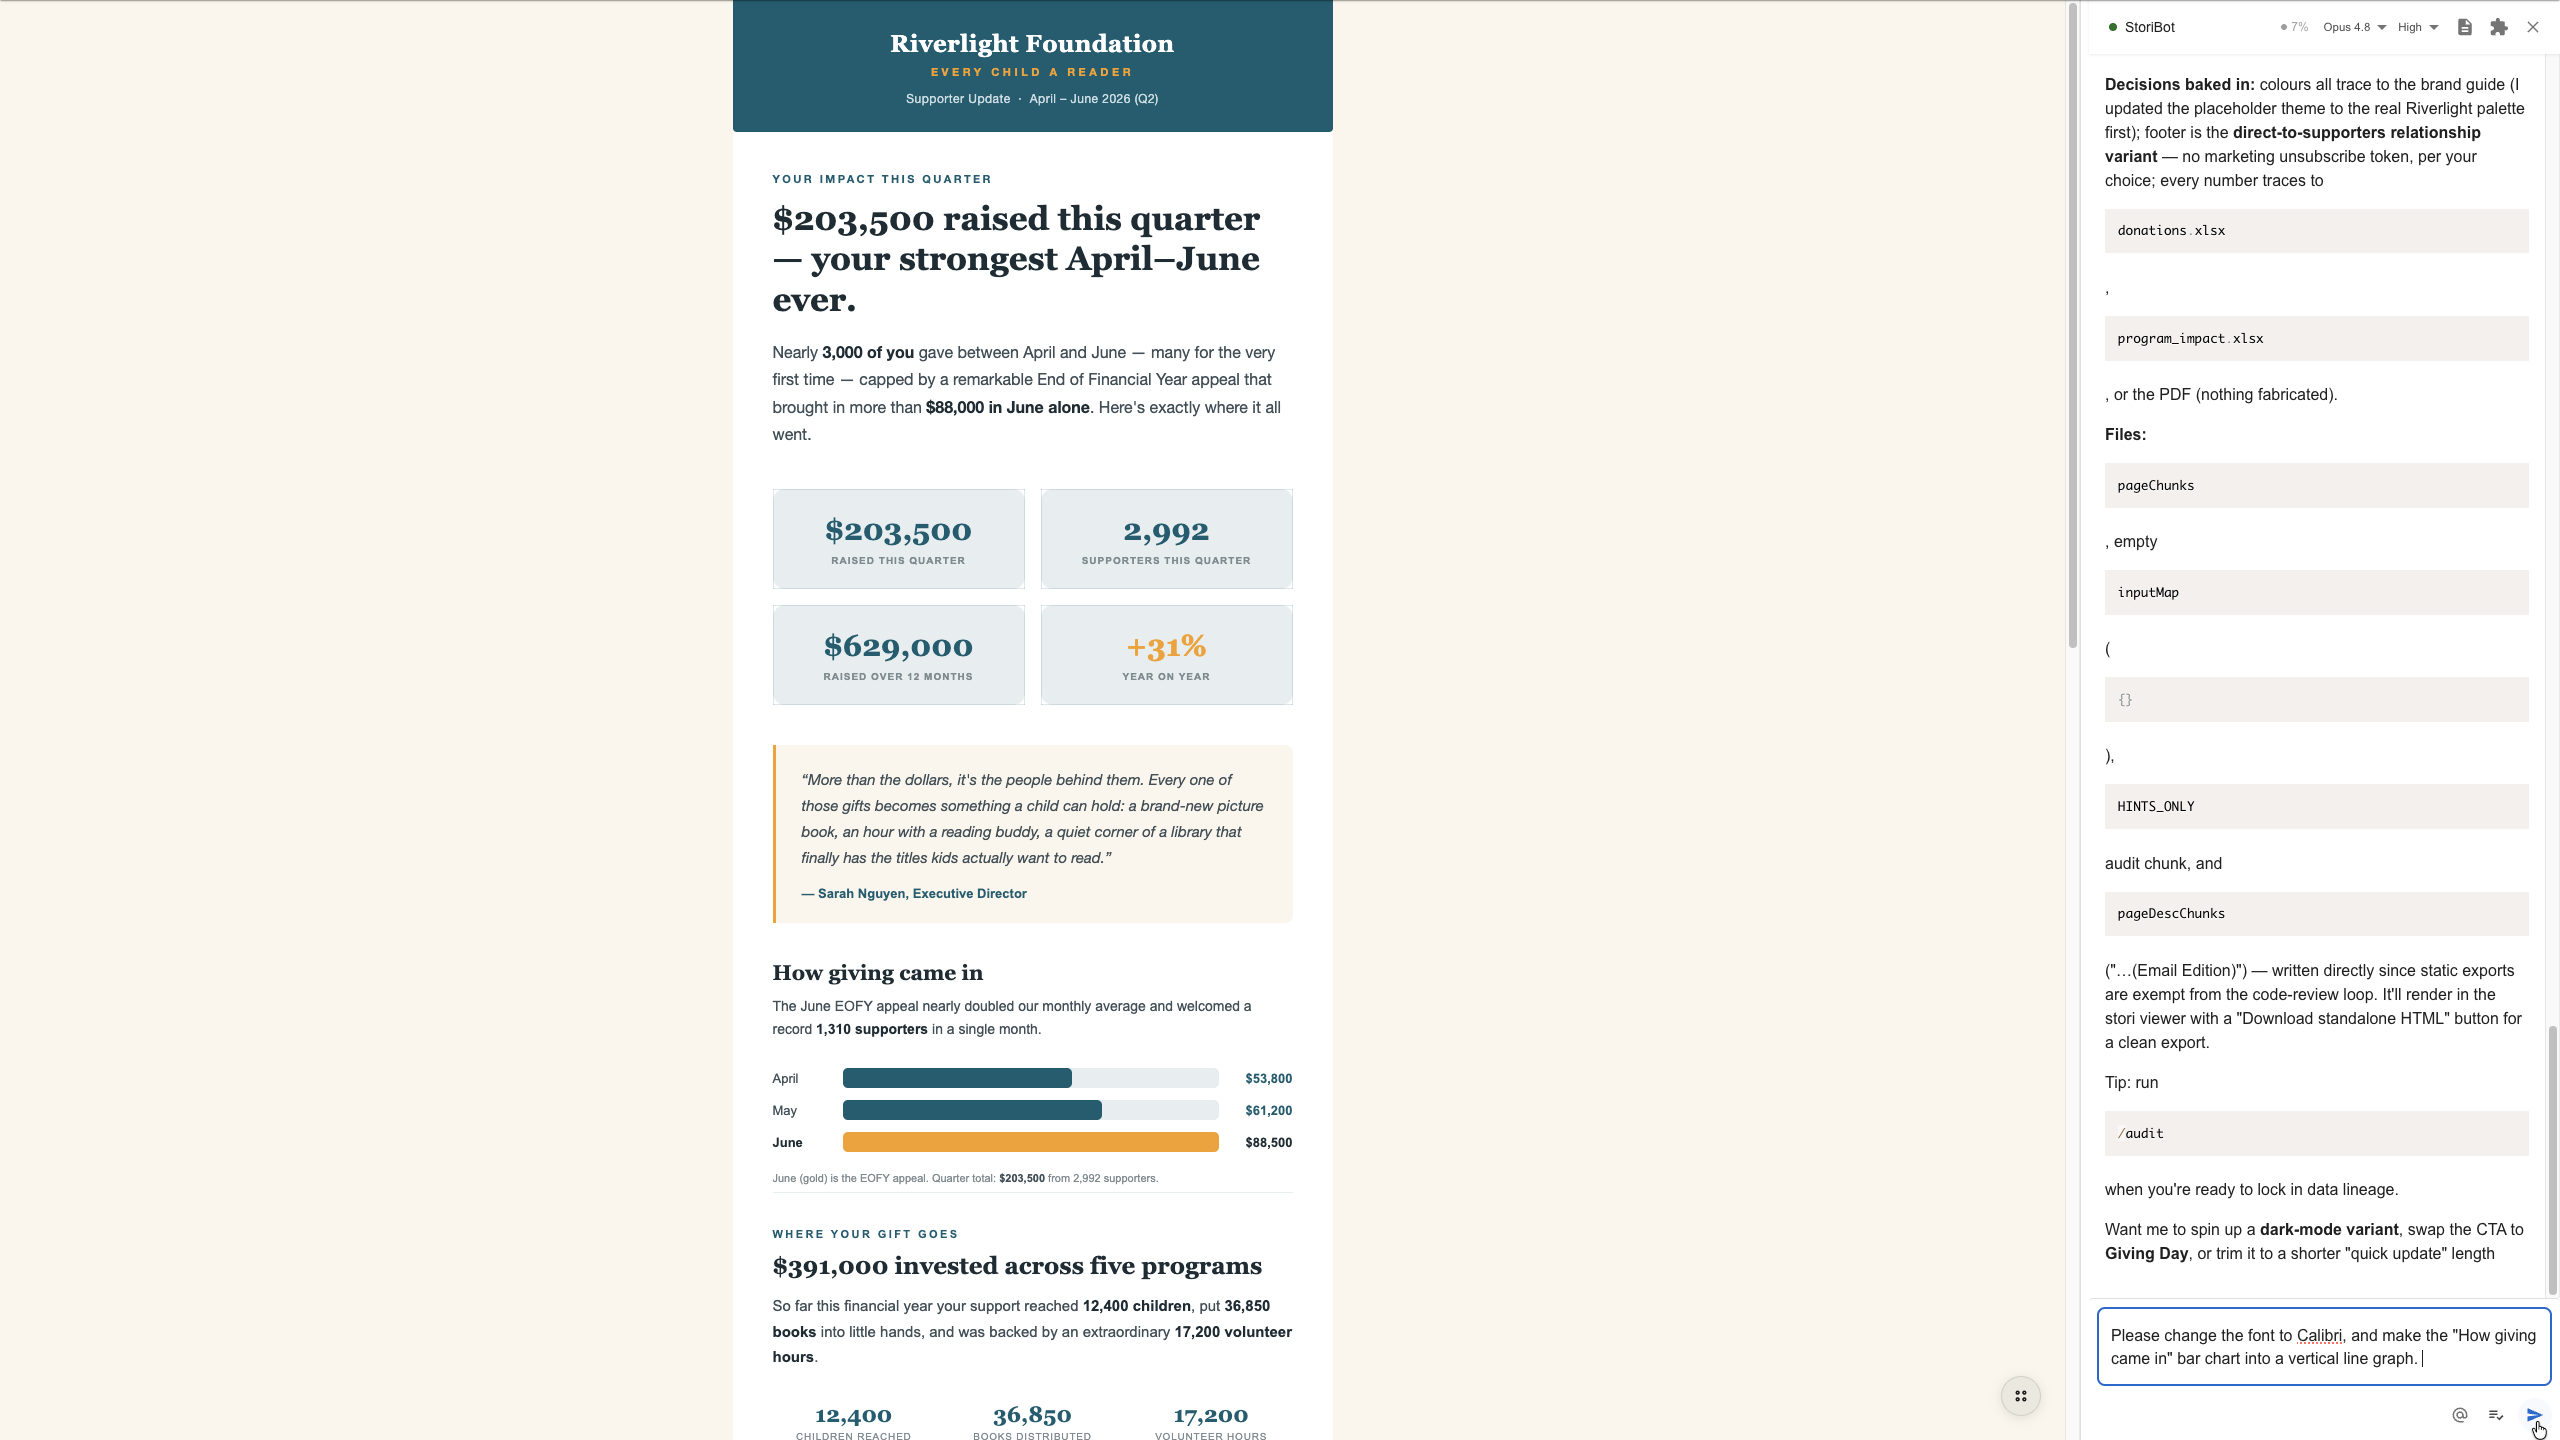
For bigger changes — repositioning sections, adding or removing elements, or changing any chart or data graphic — describe what you want in plain English in the agent sidebar, and it rebuilds that part for you.
Export to HTML
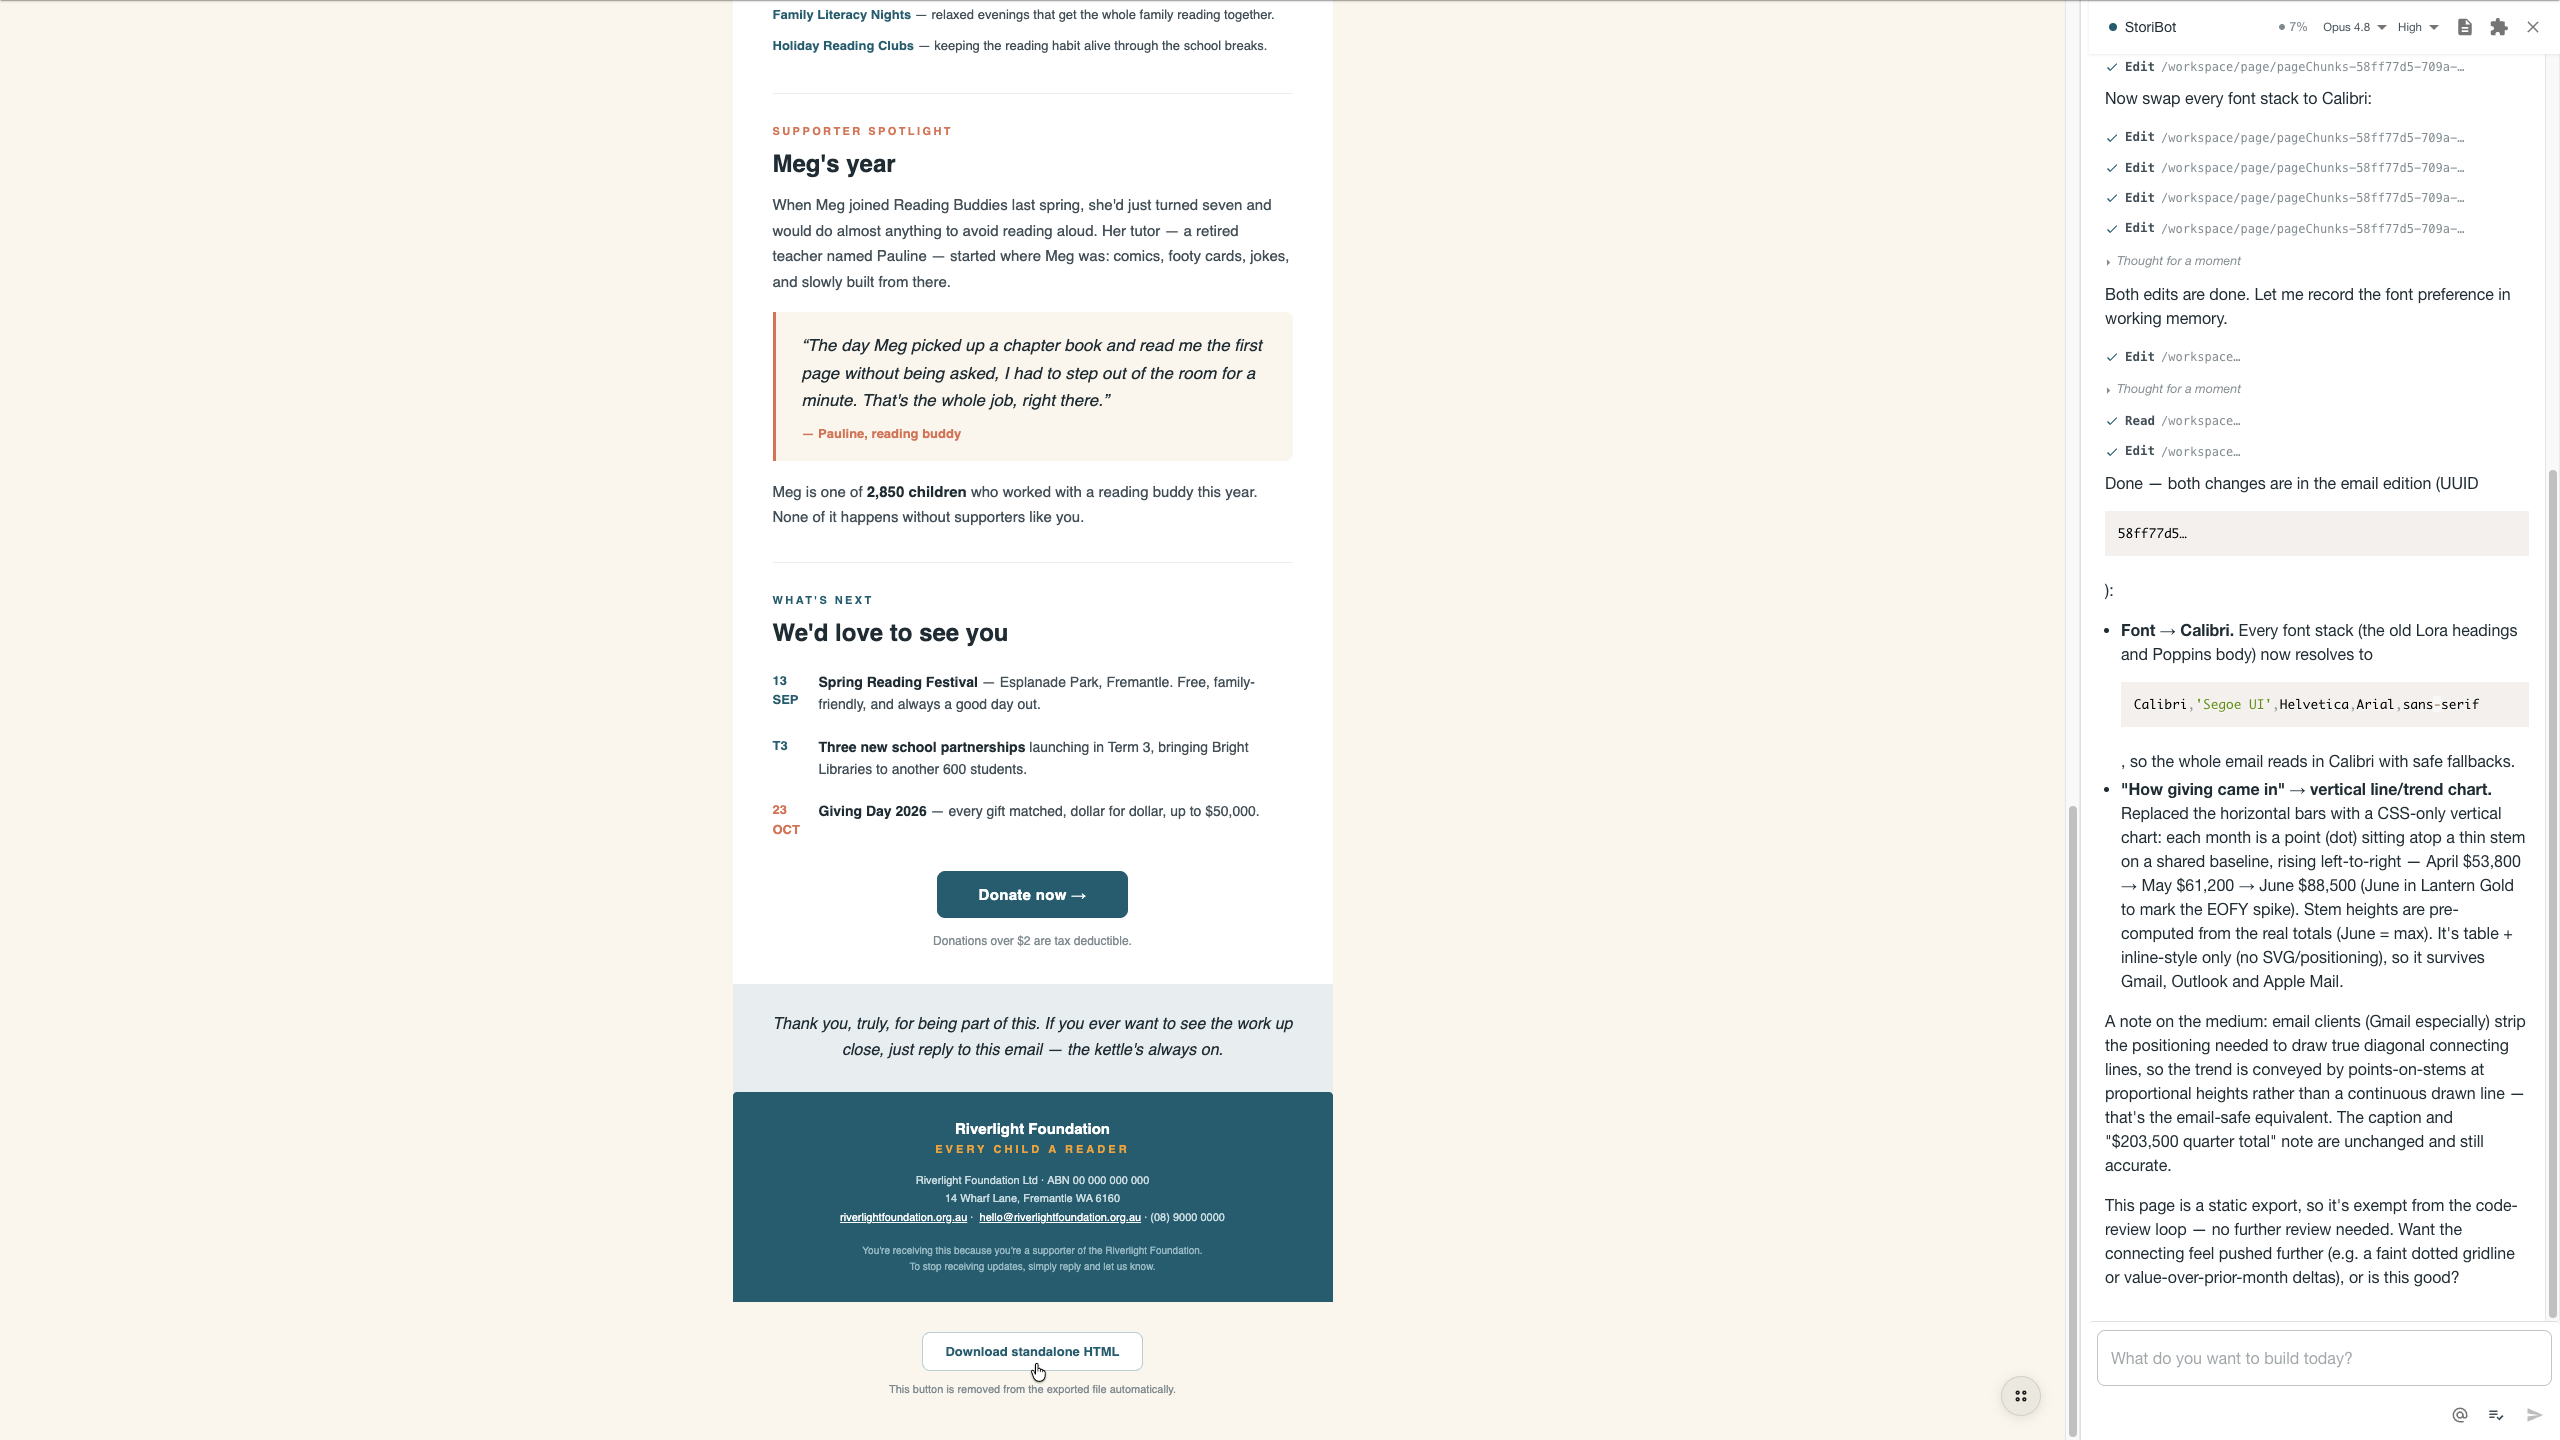
Once you're happy with the result, scroll to the bottom of the workspace and click Download standalone HTML. The file saves to your device, ready to drop into Mailchimp, Campaign Monitor, or your own email client.
Or share a link
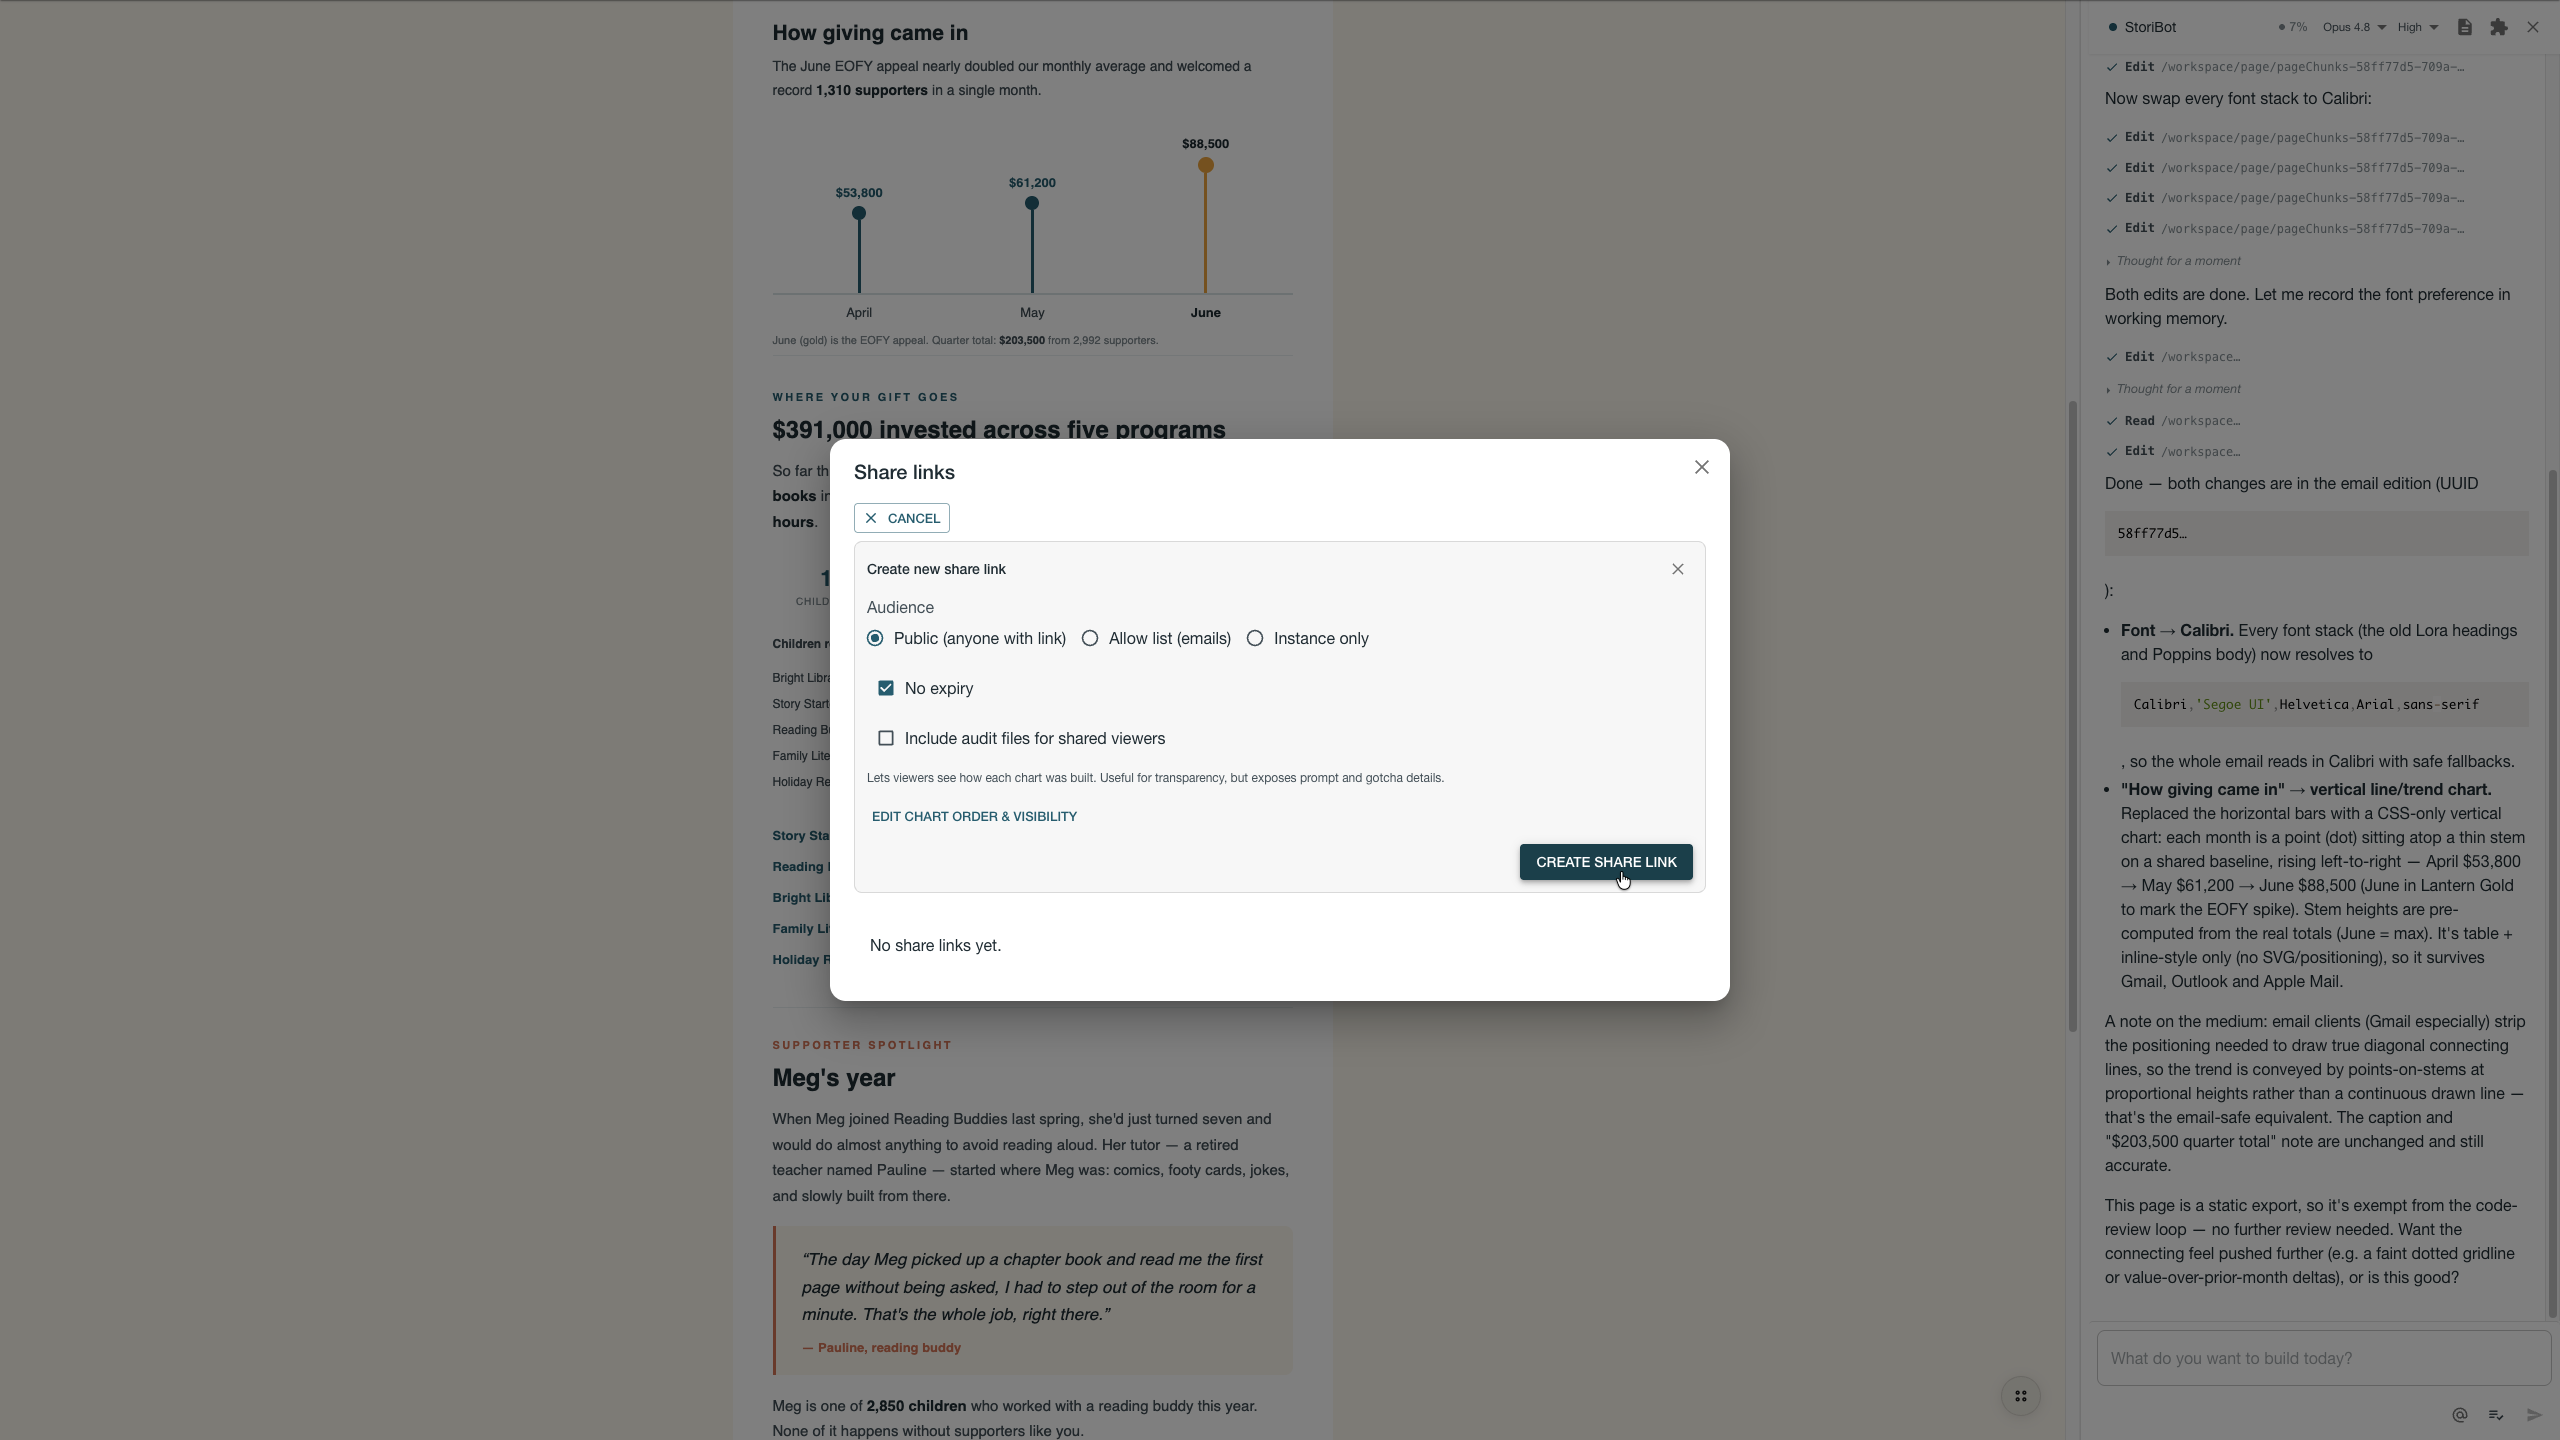
Prefer to send a link instead of an attachment? Open the sub-menu, click Share → Create new link, choose your access preferences, and the link is copied to your clipboard — the same artifact, sent as a page.
Your turn
That's the full build: content and data in, on-brand HTML email out, every number traced to source. Build your own at app.stori.bot.